BLOG
How to Achieve Natural Aesthetics in Anterior Composite Restorations
Blog Tarihi: 14/06/2026
Why “Natural” Anterior Composite Is Harder Than It Looks
Anterior composite restorations sit at the intersection of function, biology, and appearance. Unlike posterior restorations—where occlusion and seal often dominate—the anterior zone is scrutinised in daylight, on video calls, and in high-resolution photos. Small errors in shade, translucency, line angles, or surface texture can make a restoration appear “flat,” “opaque,” or visibly patched, even when margins are clinically acceptable.
For dental professionals, achieving a lifelike result is less about one “secret material” and more about a controlled workflow: diagnosis, isolation, optical planning, layering, anatomy, and finishing. This article is for educational purposes and discusses concepts that can be refined through continuing education and hands-on training at Istanbul Dental Academy.
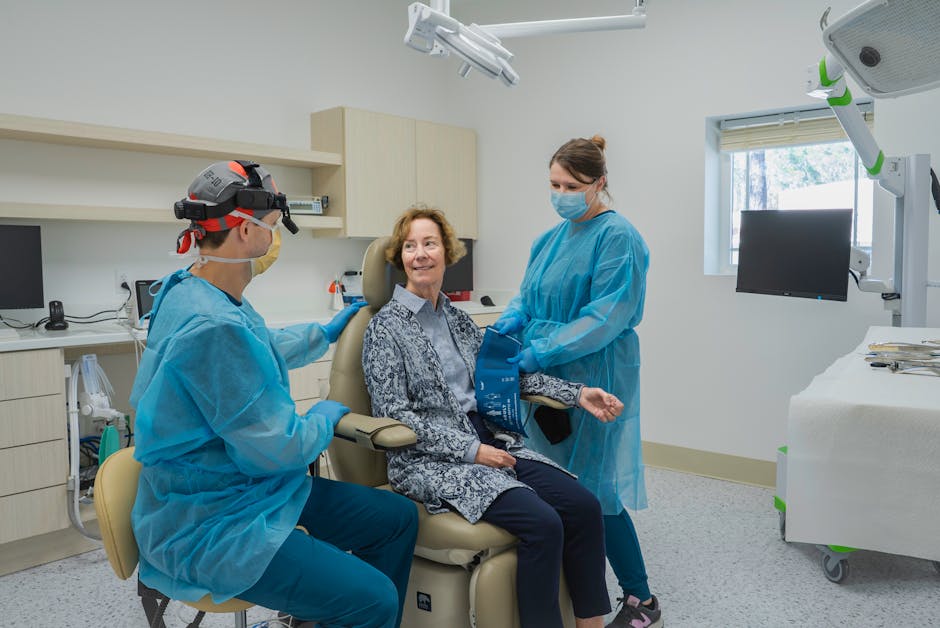
Start With Diagnosis: The Foundation of Aesthetic Predictability
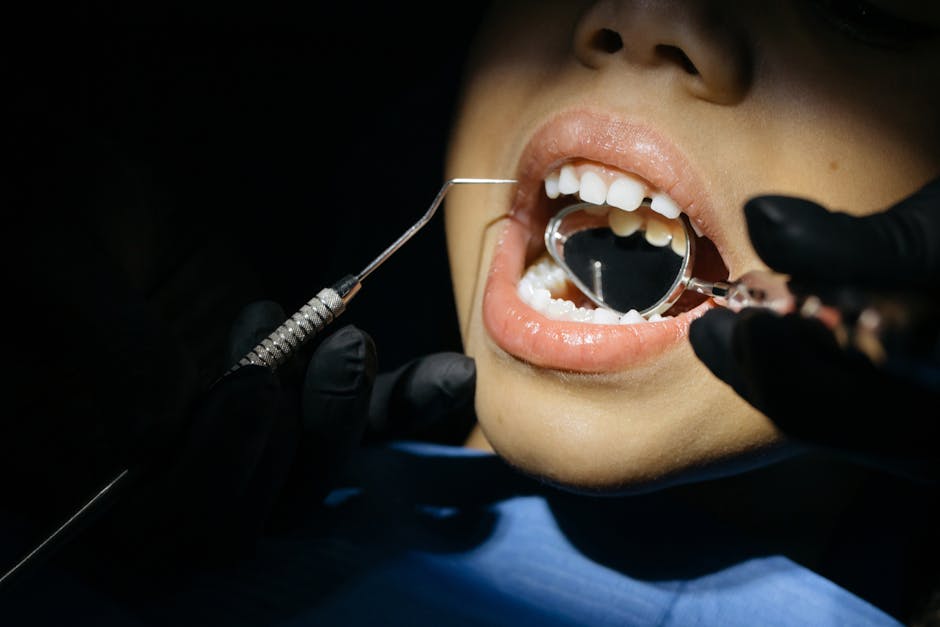
Evaluate the tooth and the smile frame
Before selecting a composite, assess the broader smile design: incisal edge position, midline, gingival zeniths, and the relationship between teeth and lips. What looks natural for one patient (high translucency, pronounced texture) can look artificial for another (needs softer texture, lower value). Pre-operative photos—ideally with cross-polarisation options—help document baseline colour and surface characteristics.
Periodontal phenotype and gingival levels also influence perceived aesthetics. If recession exposes root surfaces or creates black triangles, the restorative plan may need to coordinate with periodontal management. For an evidence-informed overview of recession patterns and clinical considerations, see gum recession: causes, symptoms, and evidence-based management.
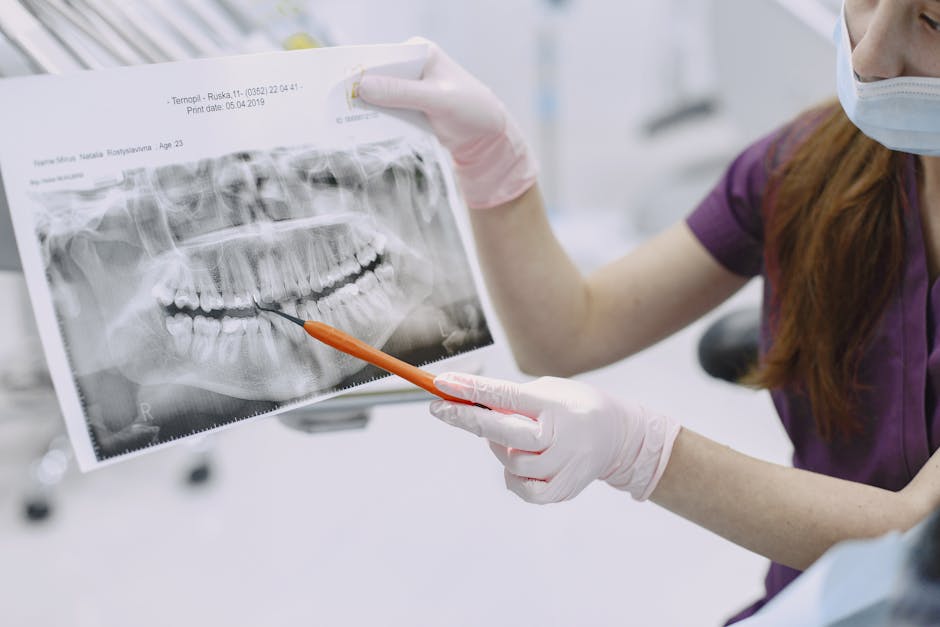
Check substrate and endodontic history
Dentin darkness, previous restorations, and endodontically treated teeth change the optical baseline. A single-shade approach may fail when the substrate is discoloured or when the restoration is large and thin at the incisal. In such cases, clinicians often consider opaquers, blocking layers, or alternative restorative options (e.g., porcelain laminate veneers) based on case selection and patient factors.
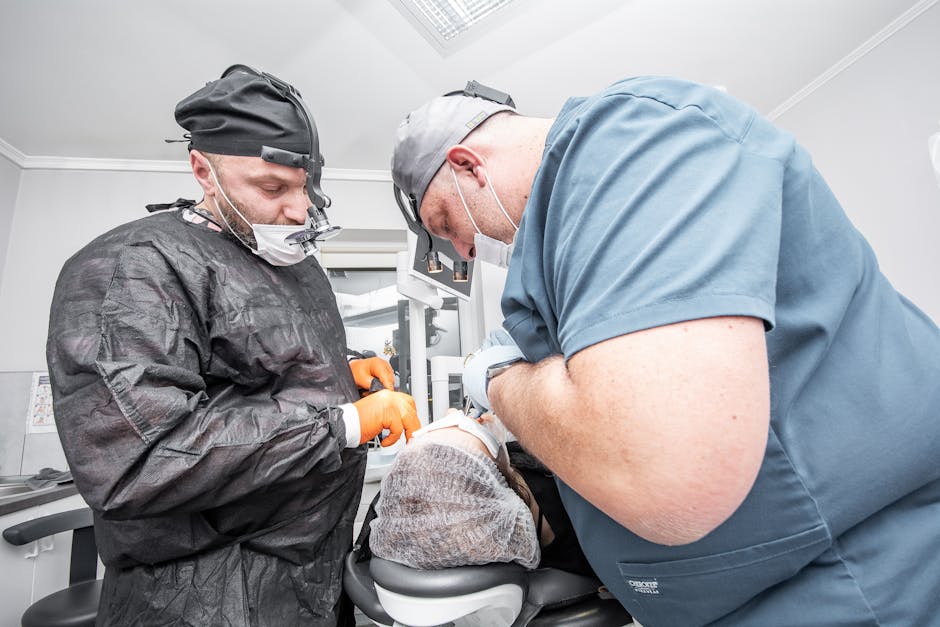
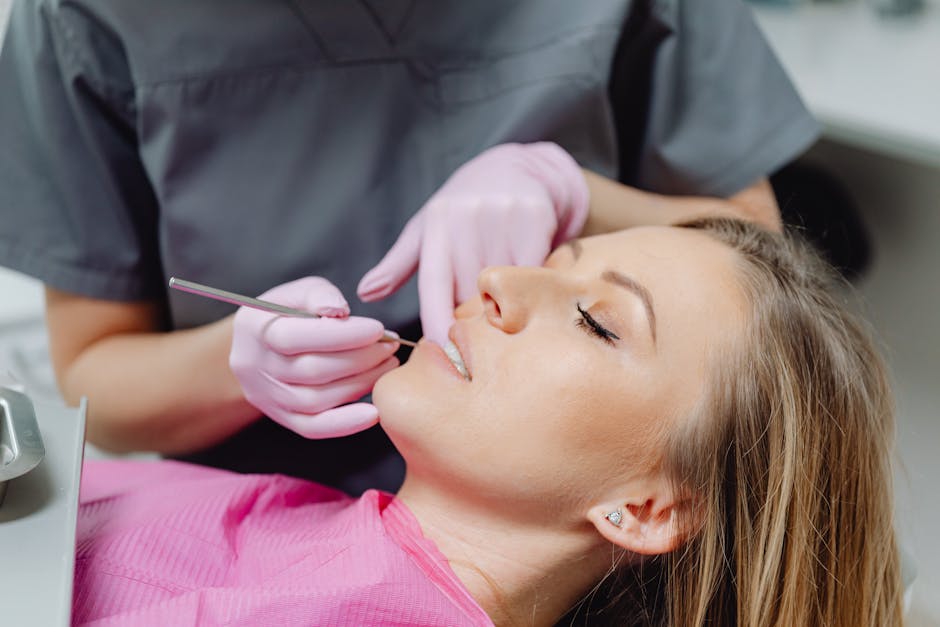
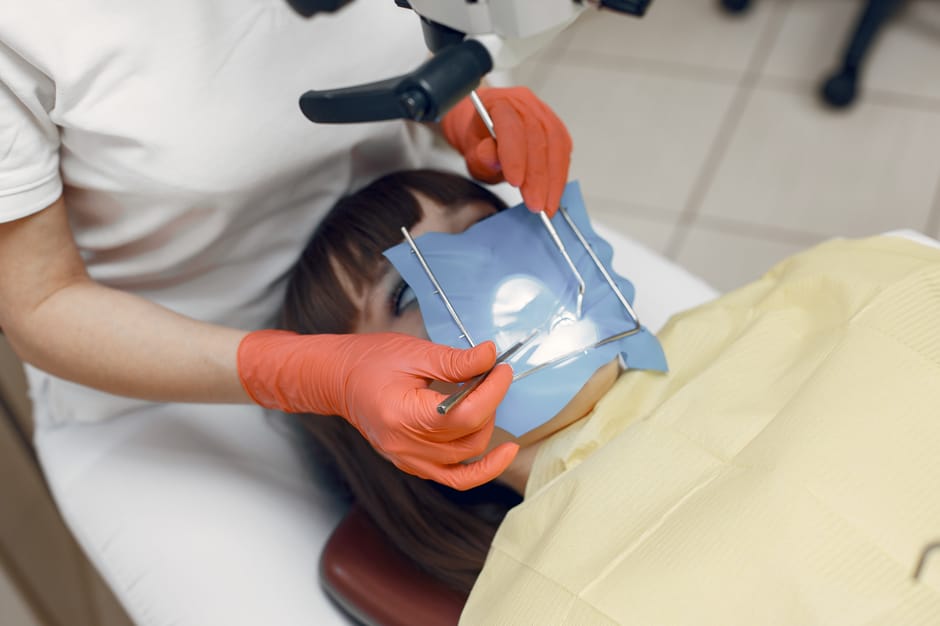
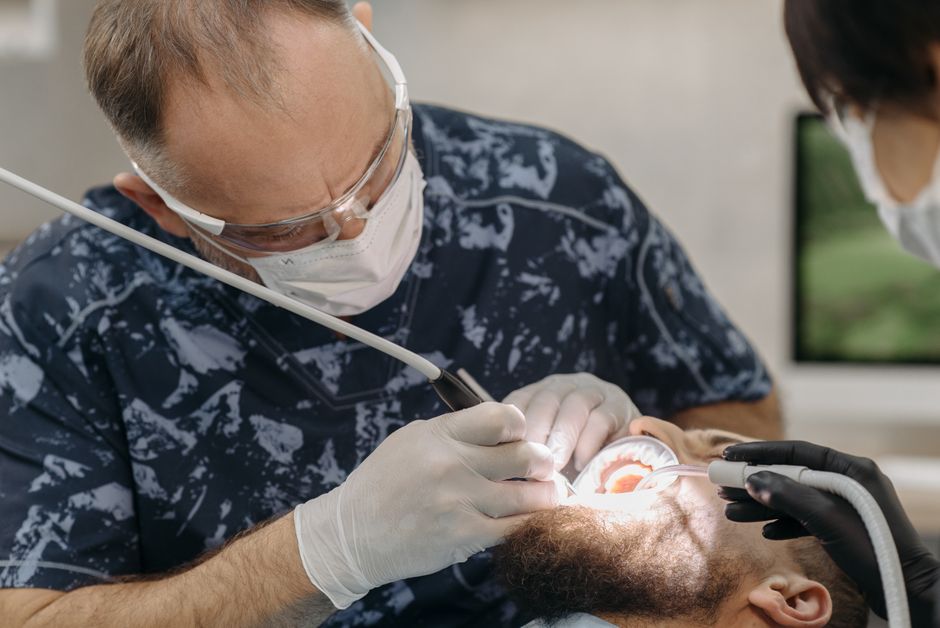
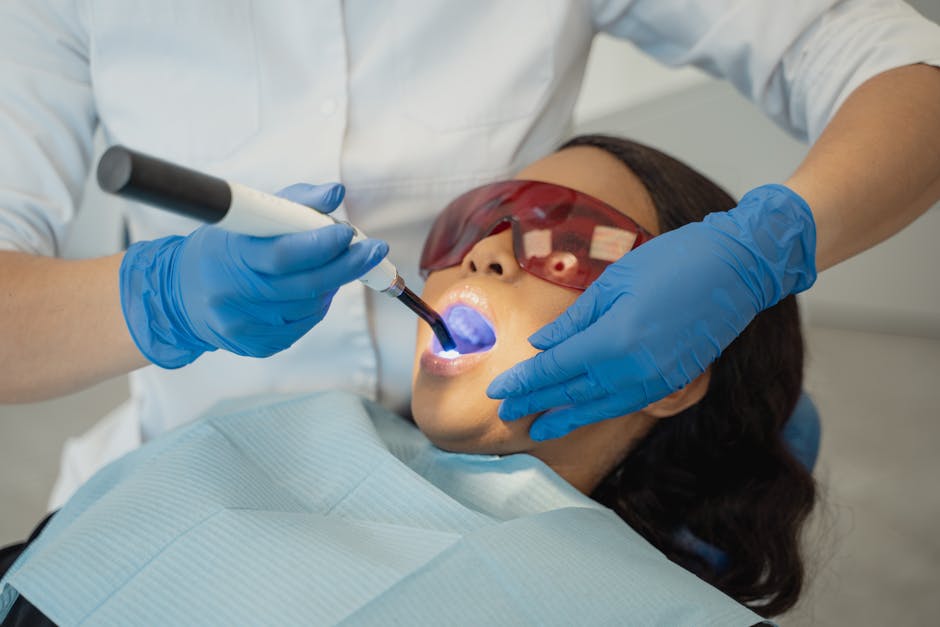
Isolation and Moisture Control: Aesthetic Results Begin Here
Anterior composite aesthetics can be undermined by contamination long before finishing begins. Moisture affects bonding, marginal integrity, and surface quality—issues that later present as marginal staining or loss of gloss.
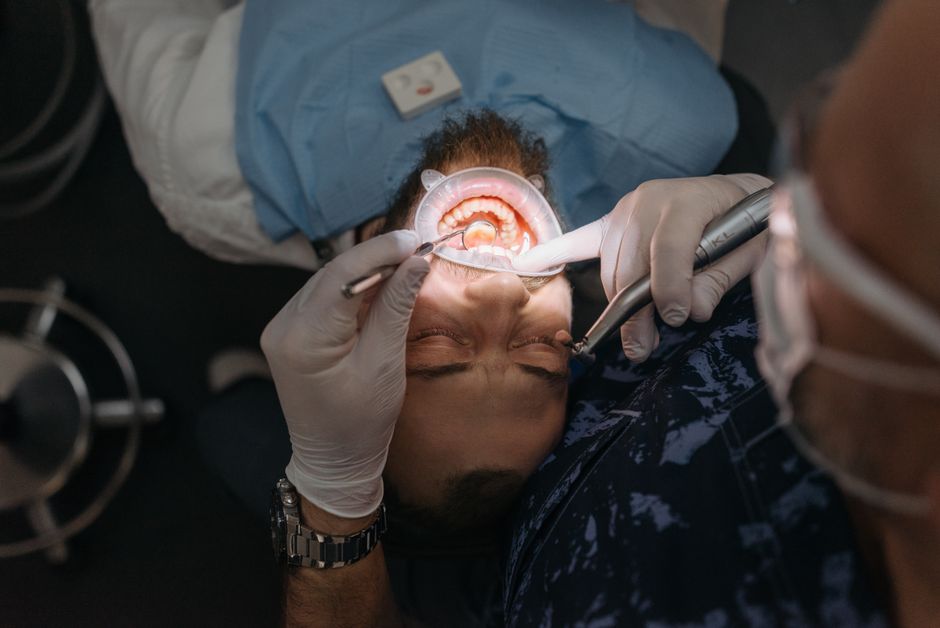
Rubber dam isn’t just for adhesion—it’s for optics
Using a rubber dam (with proper clamp selection or floss ligatures) stabilises the field and supports a clean, controlled layering process. It also helps the operator preserve the intended surface anatomy without hurried manipulation caused by saliva pooling or patient movement.
Salivary flow and composition are not merely “nuisance variables”; they’re biologically and clinically relevant. For a deeper educational discussion on this topic, read why saliva matters: the unsung protector of oral health.
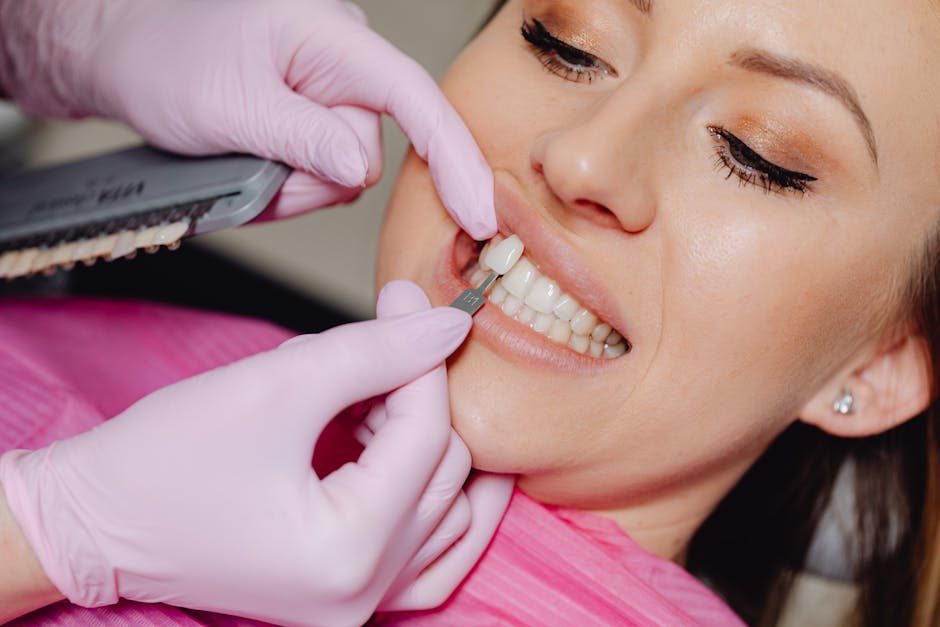
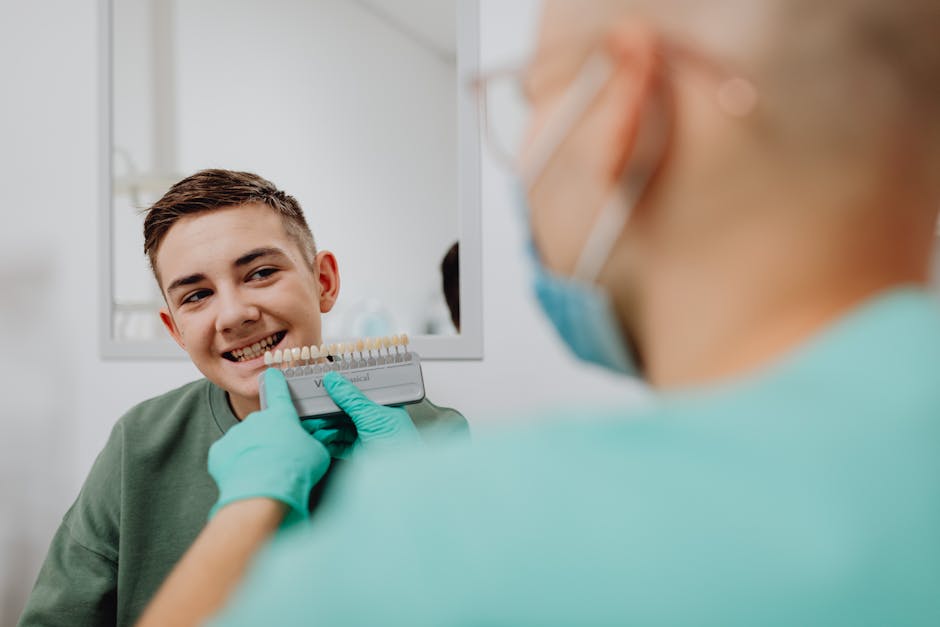
Shade Selection: Think Value First, Then Chroma and Hue
In anterior teeth, value (lightness) is typically the most noticeable dimension. A restoration that is slightly too high in value may look chalky; too low in value may look grey or “dead.” To improve predictability:
Clinical tips (educational): choose shade before dehydration, keep the tooth hydrated, use a neutral background, and consider a quick “try-in” by curing small composite buttons in candidate shades. Photographs with shade tabs in the same plane can help with documentation and communication—especially when planning adjacent restorations.
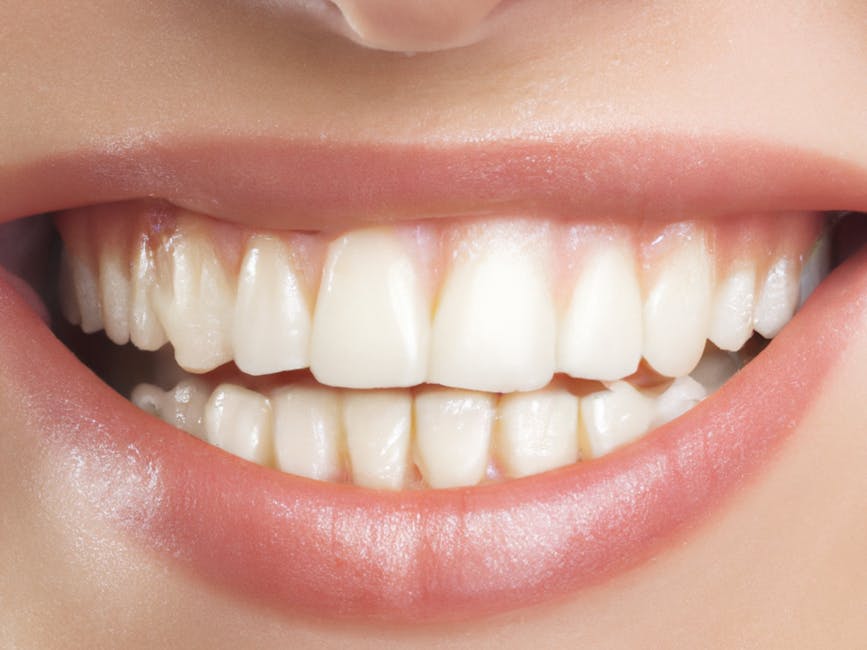
Understand translucency and the “incisal effect”
Natural incisors often show increasing translucency toward the incisal edge, with subtle opalescence and halo effects. Replicating this requires more than selecting an “incisal” shade; it requires thickness control. A thin translucent layer over a darker substrate can shift the perceived colour. Conversely, overly thick enamel layers can create a grey cast.
Layering Strategy: Recreating Tooth Optics, Not Just Filling Space
Most lifelike results come from an intentional layering plan: dentin/body for chroma and opacity, enamel for translucency and surface brightness, and effect materials (used conservatively) to mimic characterisation. The goal is to reproduce the optical gradients of a natural tooth.
Build the palatal shell first
A silicone index from a wax-up or a diagnostic mock-up can guide palatal contour and incisal length. This approach reduces guesswork and supports symmetry—particularly for diastema closures or incisal edge reconstructions. In digital workflows, a digital wax-up can be combined with printed guides, integrating restorative dentistry with modern smile design protocols.
Use thickness control as your “colour management” tool
Instead of relying on heavier pigmentation, manage the final appearance through layer thickness and placement. For example, increasing dentin thickness in the middle third can reinforce chroma without over-opaquing the incisal. Similarly, a thin enamel layer can preserve vitality while maintaining value.
Form and Micro-Esthetics: Anatomy Makes the Restoration Believable
Line angles and proportions
Even perfect shade matching can look wrong if the line angles are off. The apparent width of an anterior tooth is strongly influenced by the position and sharpness of mesial and distal line angles. Slight changes can make a tooth appear wider, narrower, or rotated—useful in smile design but risky when unplanned.
Surface texture: macro, micro, and gloss
Natural enamel is not uniformly glossy. It reflects light differently across lobes, perikymata, and wear facets. Over-polishing can create a “plastic” look; under-polishing can trap plaque and stain. A balanced approach typically involves establishing macro anatomy (lobes/planes), then microtexture (fine striations), and finally controlled gloss.
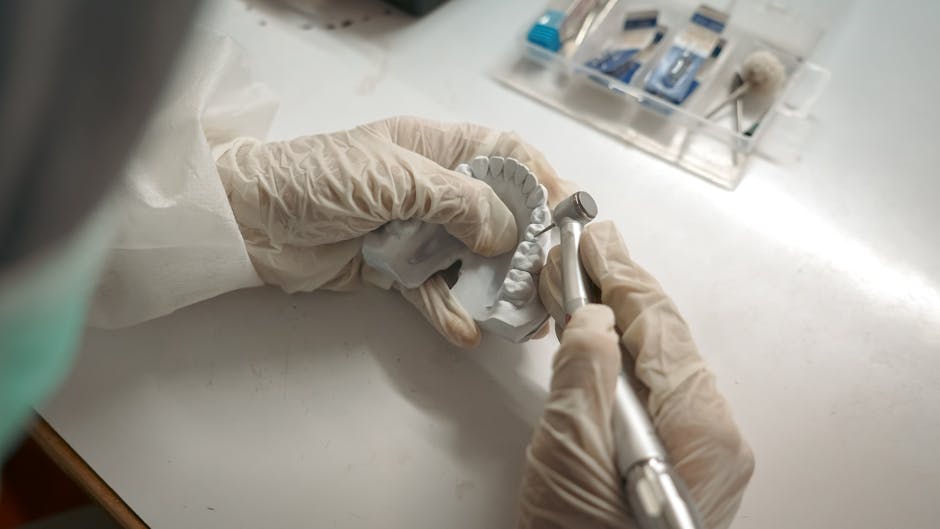
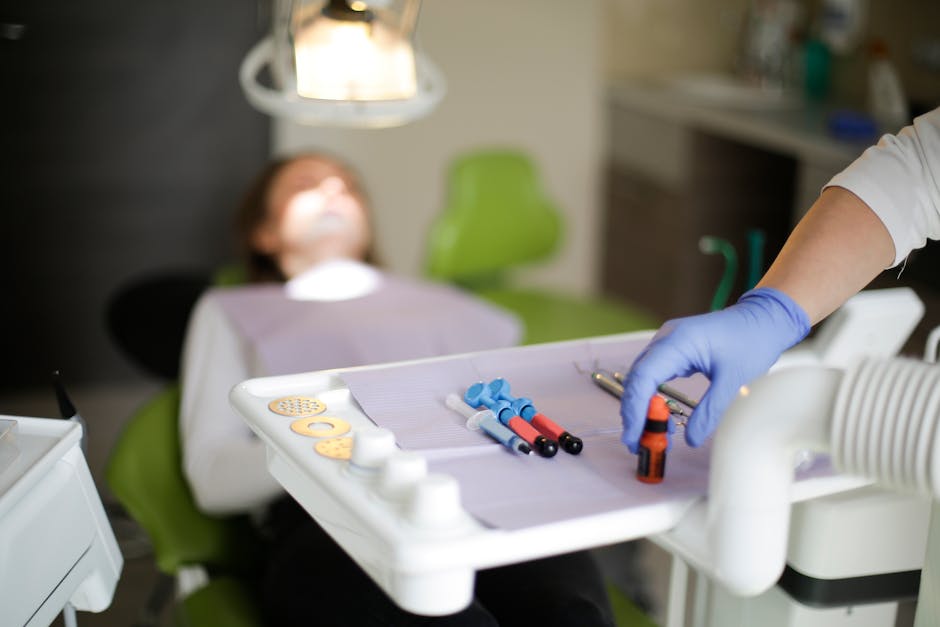
Finishing and Polishing: Where Many Aesthetic Cases Are Won (or Lost)
Finishing should be systematic: contour first, then refine. Use a sequence that prevents over-reduction and supports a stable surface. While product choices vary, the principle remains consistent—progress from shaping instruments to progressively finer abrasives, verifying symmetry and reflection patterns throughout.
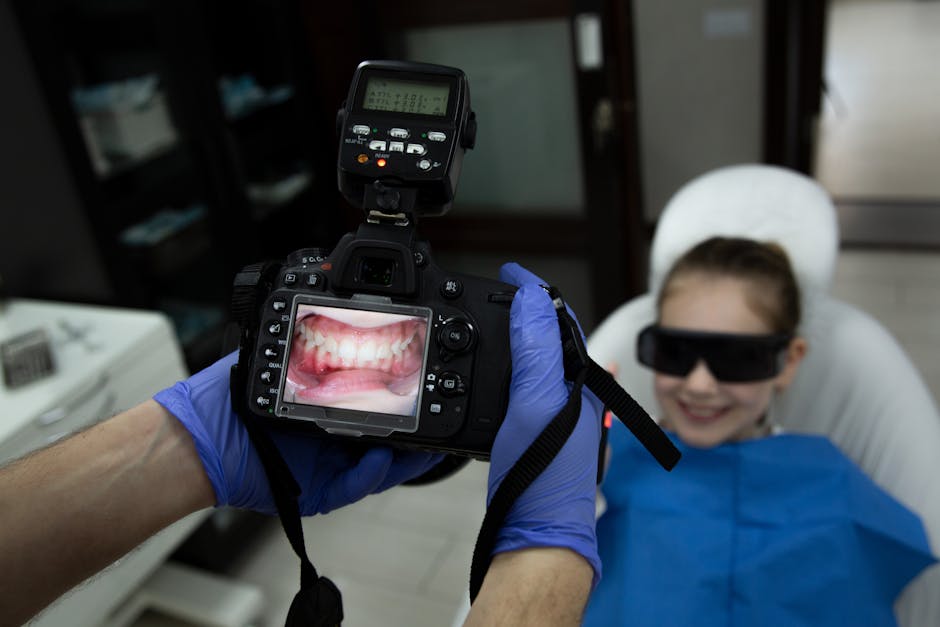
Check the restoration in multiple lighting conditions
Operatory lights can mask value mismatches. If possible, evaluate under neutral lighting and, when appropriate, take final photographs. Dental photography is more than marketing; it is a clinical feedback loop that helps clinicians see texture, line angles, and subtle shade issues that are easy to miss chairside.
Occlusion and Longevity: Aesthetics Must Survive Function
Anterior composites often fail aesthetically due to chipping, incisal wear, or marginal staining. Functional diagnosis is therefore part of aesthetic planning. Evaluate guidance patterns, parafunctional habits, and edge-to-edge contacts. When indicated, patient education and protective strategies (e.g., occlusal splints) may be discussed as part of a broader treatment plan.
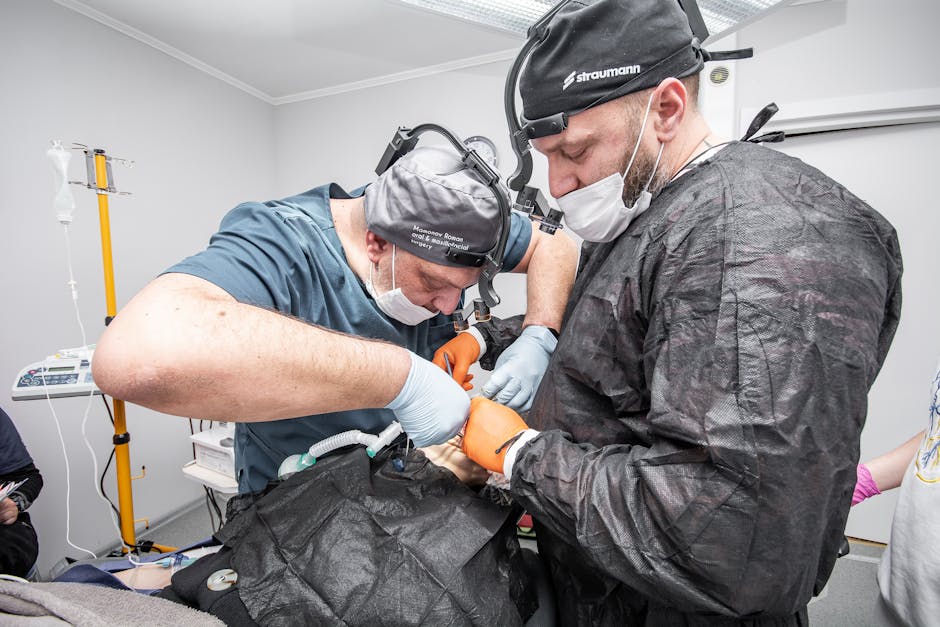
Importantly, anterior aesthetics rarely exist in isolation. Many patients seeking smile improvements also ask about missing teeth solutions or full-arch rehabilitation options. Understanding how restorative planning interfaces with implant dentistry supports comprehensive care. For clinicians expanding into surgical-restorative workflows, the clinical decision-making around extraction timing and implant placement is explored in same-day tooth extraction and immediate implant placement: a clinical guide.
When Composite Isn’t Enough: Selecting the Right Modality
Composite is conservative and versatile, but not every case is an ideal composite case. Large colour changes, severe enamel breakdown, or high aesthetic demands may lead clinicians to consider porcelain laminate veneers or other prosthodontic options. The key is transparent communication about maintenance, longevity, and expected colour stability, and choosing a modality aligned with the patient’s risk profile and goals.
Similarly, when tooth loss is present, smile design may integrate implants and prosthetics. Full-arch planning requires a different diagnostic lens, including bone, soft tissue, prosthetic space, and hygiene access. For an educational comparison that supports planning conversations, review All-on-4 vs All-on-6: key differences for full-arch implant planning.
Common Clinical Pitfalls in Anterior Composite Aesthetics
Below are frequent issues that can compromise natural appearance—even with good materials:
• Dehydration during shade selection: increases value and leads to over-bright restorations.
• Over-opaquing the restoration: masks depth and creates a monochromatic look.
• Ignoring line angles: produces asymmetry and unnatural tooth proportions.
• Over-polished “plastic” surfaces: look artificial and may show different reflectivity than adjacent enamel.
• Inadequate isolation: increases risk of marginal staining and reduced longevity.
For clinicians who also perform implant procedures, a comparable “pitfall awareness” mindset is essential. Many surgical complications are preventable with better planning, instrumentation, and supervised practice. An educational overview is available in implant surgery mistakes beginners make—and how to prevent them.
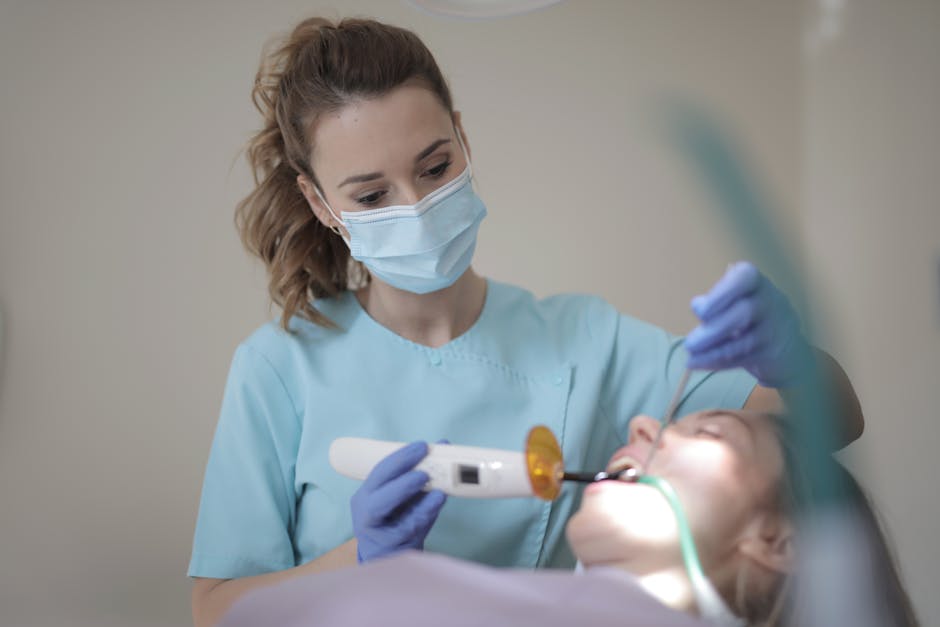
Training for Predictable Results: Why Hands-On Matters
Anterior composite artistry is a clinical skill built through repetition, feedback, and structured protocols. Reading about layering is helpful, but tactile control—material handling, instrument angulation, texture creation, and finishing sequences—develops fastest in hands-on learning environments where outcomes can be evaluated and refined.
At Istanbul Dental Academy, our continuing dental education approach emphasises practical workflows that connect diagnosis to execution: shade communication using dental photography, analogue and digital indices for predictable form, and finishing/polishing strategies that support long-term aesthetics. These competencies also translate directly to broader restorative and prosthodontic work, including veneer planning, digital smile design, and implant-restorative integration.
Clinical Takeaways
Natural aesthetics in anterior composite restorations are achievable when clinicians treat the process like a controlled protocol rather than a single-step “shade match.” Focus on (1) diagnosis and case selection, (2) isolation and moisture control, (3) value-driven shade selection, (4) thickness-based layering, (5) anatomical line angles and texture, and (6) systematic finishing and occlusal verification.
This content is for educational purposes and is not a substitute for professional clinical judgement, patient-specific diagnosis, or formal training. For dentists and students aiming to improve predictability and efficiency in aesthetic anterior restorations, structured hands-on courses and mentored feedback can significantly shorten the learning curve.
Diğer Yazılar