
BLOG
Color and Form Management in Anterior Restorations: A Clinical Guide
Blog Tarihi: 16/09/2026
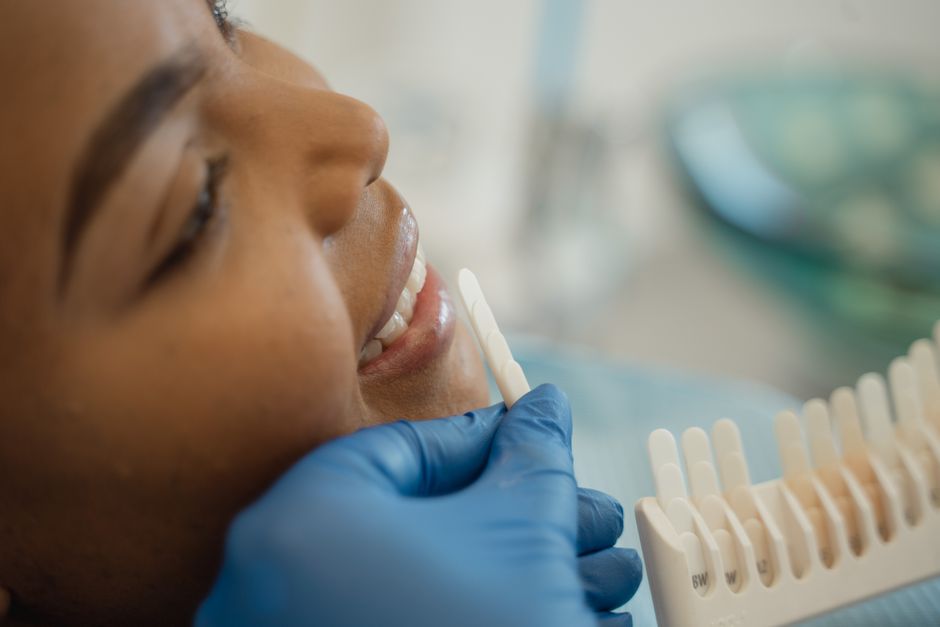
Why “Color + Form” Is the Real Unit of Success in Anterior Restorations
In anterior restorative dentistry, patients rarely evaluate a restoration as “good composite work” or “a well-made veneer.” They evaluate it as a front tooth that either blends naturally or looks “done.” That judgment is almost always a combined perception of color and form: hue/chroma/value interacting with tooth morphology, surface texture, translucency, and gingival frame. For clinicians, managing these variables requires more than choosing a shade and copying a generic incisal edge—it requires a repeatable workflow.
This article is for educational purposes and is written for dentists, dental students, and colleagues pursuing continuing dental education. It focuses on practical principles and clinic-ready steps that Istanbul Dental Academy emphasizes in hands-on training: diagnostic planning, dental photography, minimally invasive preparation, material selection, and finishing/polishing protocols.
Start with Diagnosis: What Are You Restoring, and Why?
Before shade tabs come out, clarify the biological and structural context. A “simple” color complaint may be driven by enamel defects, erosion, parafunction, soft-tissue inflammation, or previous restorations. The goal is not to over-treat, but to understand limitations and opportunities.
Key diagnostic checkpoints
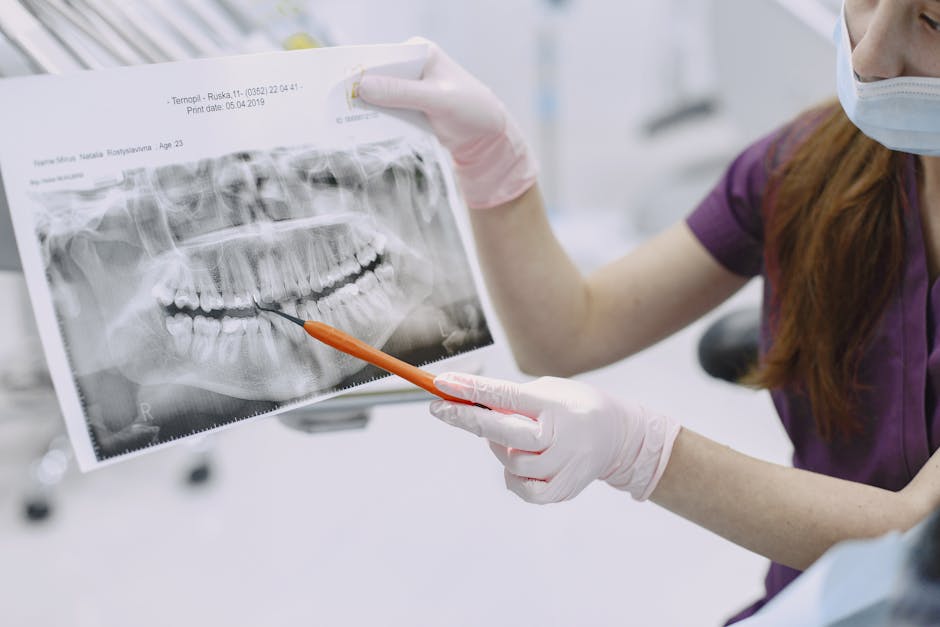
1) Etiology of discoloration and surface change: white spots, fluorosis, trauma-related discoloration, endodontic darkening, developmental defects, or restorative mismatch. Developmental enamel disorders can radically change how light behaves in enamel and how restorative materials should be layered—see Current approaches to managing Amelogenesis Imperfecta with a modern restorative and digital workflow for an example of how diagnosis informs the entire plan.
2) Sensitivity and enamel thickness: sensitivity may reflect exposed dentin, crack lines, erosion, or enamel hypoplasia. When enamel is compromised, both bonding strategy and optical planning change; clinicians may find it useful to review clinical insights on Amelogenesis Imperfecta and tooth sensitivity as a reminder that patient comfort and long-term predictability begin with recognizing substrate risk.
3) Soft tissue status: inflamed gingiva alters perceived value, complicates isolation, and can undermine marginal esthetics. If bleeding occurs during exam or hygiene, it may signal periodontal inflammation or systemic factors—see Bleeding gums: what conditions could they signal? for an educational overview that helps frame referrals and pre-restorative stabilization.
Color Management: Practical Steps for Predictable Shade Matching
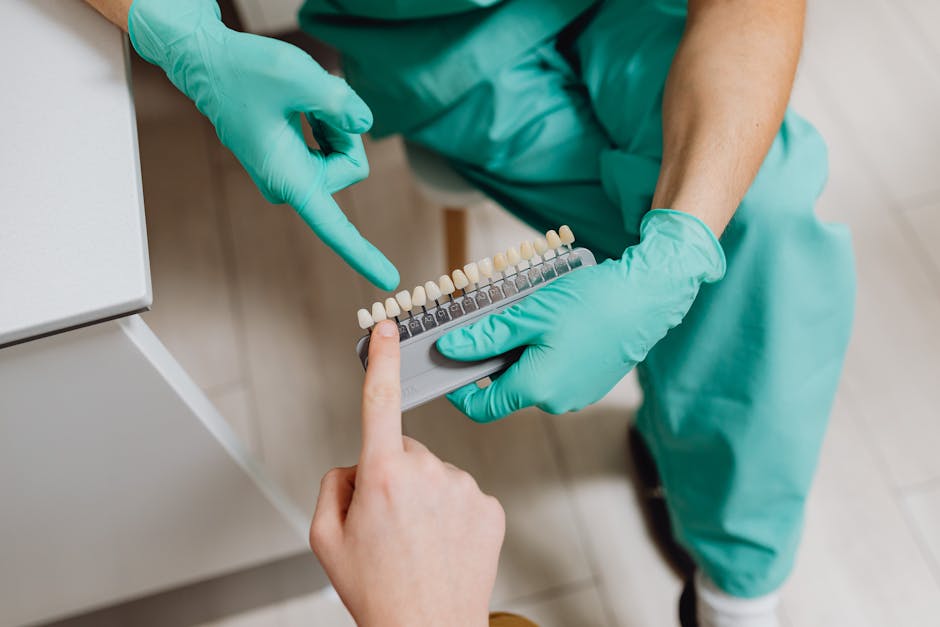
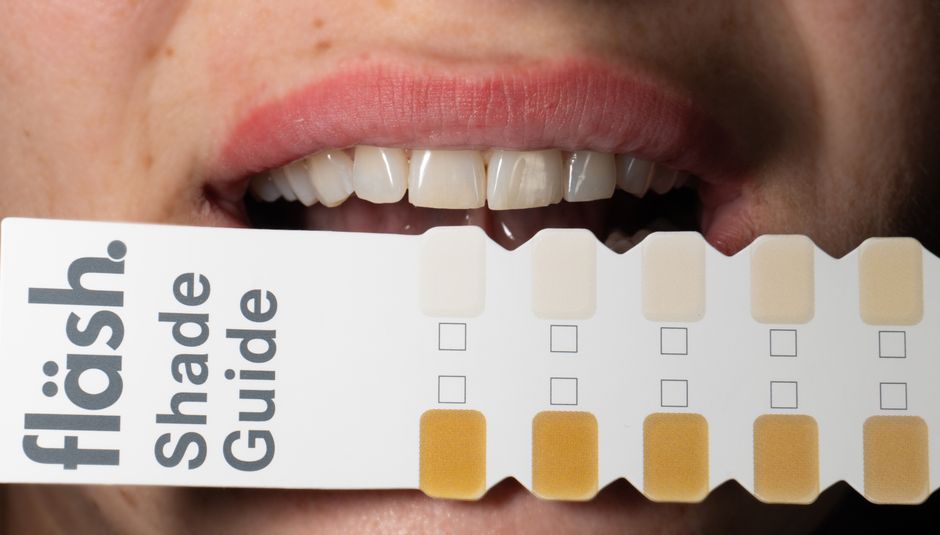
Color is often treated as a single “shade selection moment.” In reality, it is a set of decisions about value, translucency, and characterization—made under controlled conditions and communicated clearly to the lab (or to yourself for direct restorations).
Control the environment and timing
Lighting: Aim for consistent, color-correct lighting. Avoid mixed light sources. If possible, use a daylight-balanced operatory light setting or standardized photo lighting.
Timing: Select shade early in the appointment, before dehydration increases value (teeth look lighter). If isolation is required later, document pre-isolation shade and surface texture with photos.
Background: Bright lipstick, bold clothing, or strong operatory colors can influence perception. Neutralize with a gray bib or background when feasible.
Think in value first, then chroma and hue
In anterior restorations, value mismatches are noticed faster than hue errors. A restoration that is slightly warmer but correct in value often reads as “natural,” while a restoration that is too high in value can look opaque or “chalky.” When planning ceramics (e.g., feldspathic or lithium disilicate) or layered composites, decide the value target and how translucency will be controlled at the incisal third.
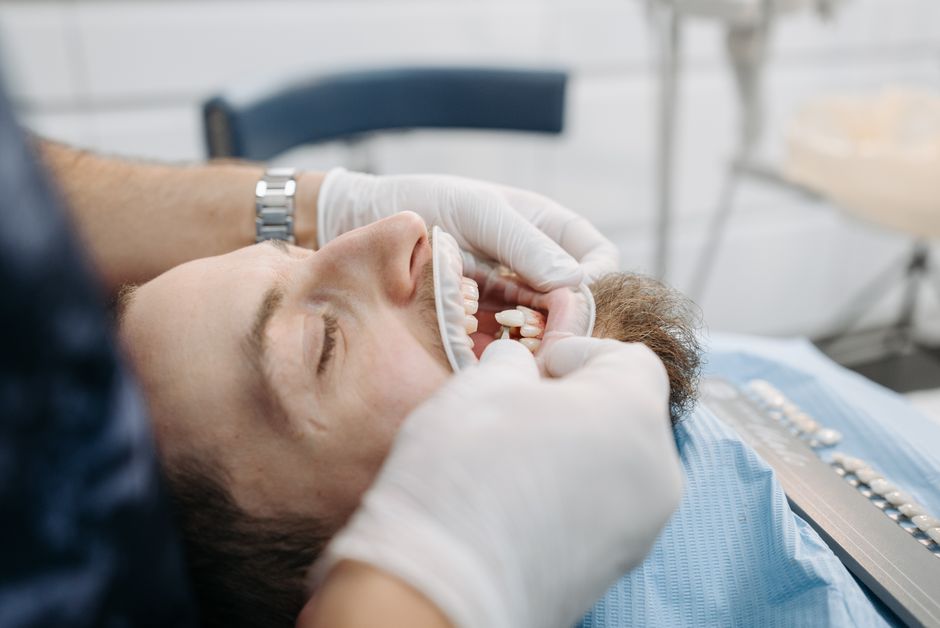
Map the tooth—don’t “average” it
Natural anterior teeth are not uniform. A simple and effective approach is to create a shade map with three zones:
Cervical third: higher chroma; influenced by gingival tissues and dentin.
Middle third: the core “identity” of the tooth; where value should harmonize with adjacent teeth.
Incisal third: translucency, opalescence, halo effects, and incisal mamelons may be visible depending on age and tooth wear.
For direct restorations, this map guides incremental layering. For indirect restorations, it becomes part of a lab prescription and helps the ceramist reproduce natural optical depth rather than a monolithic block color.
Use dental photography as a color communication tool
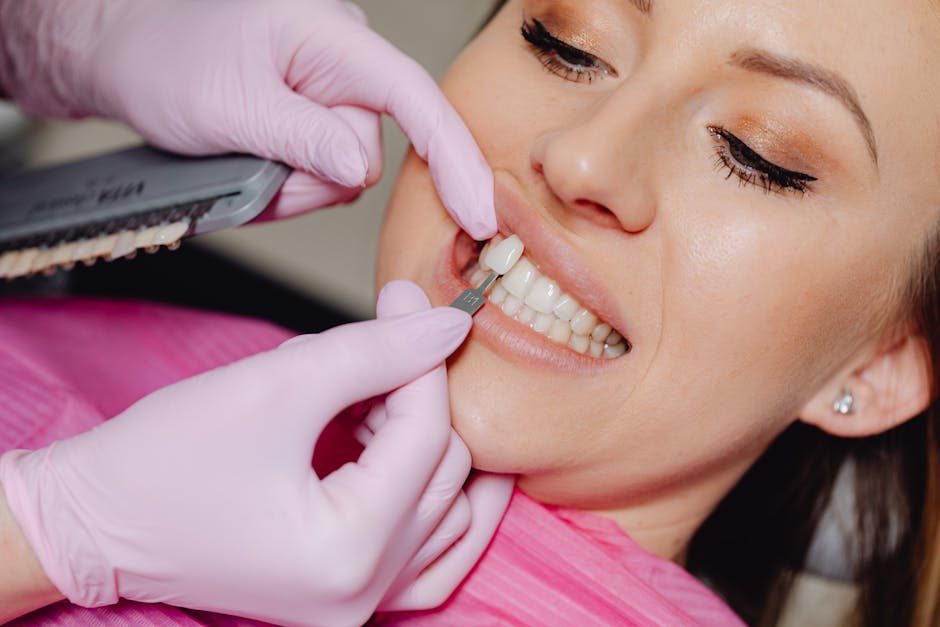
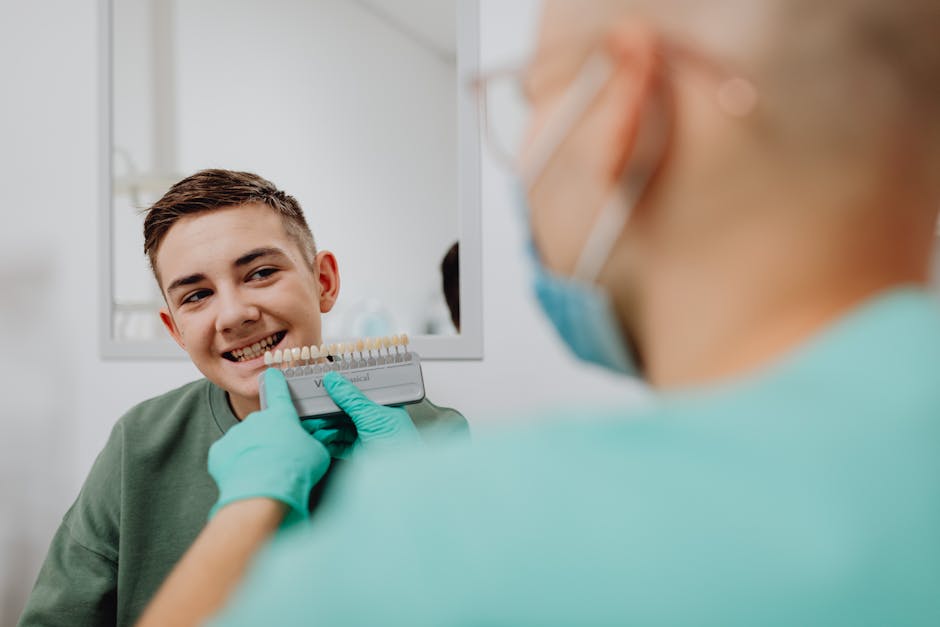
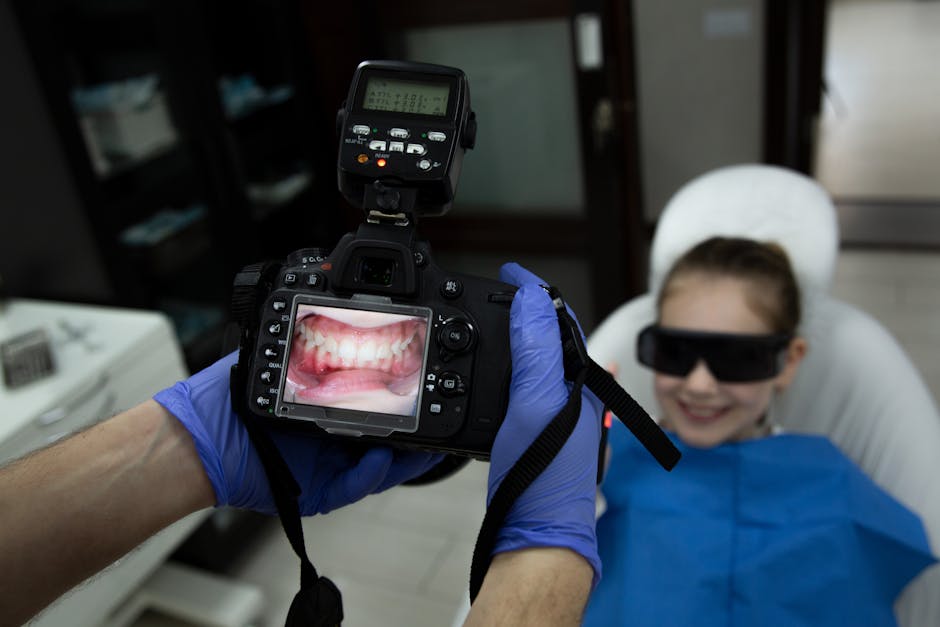
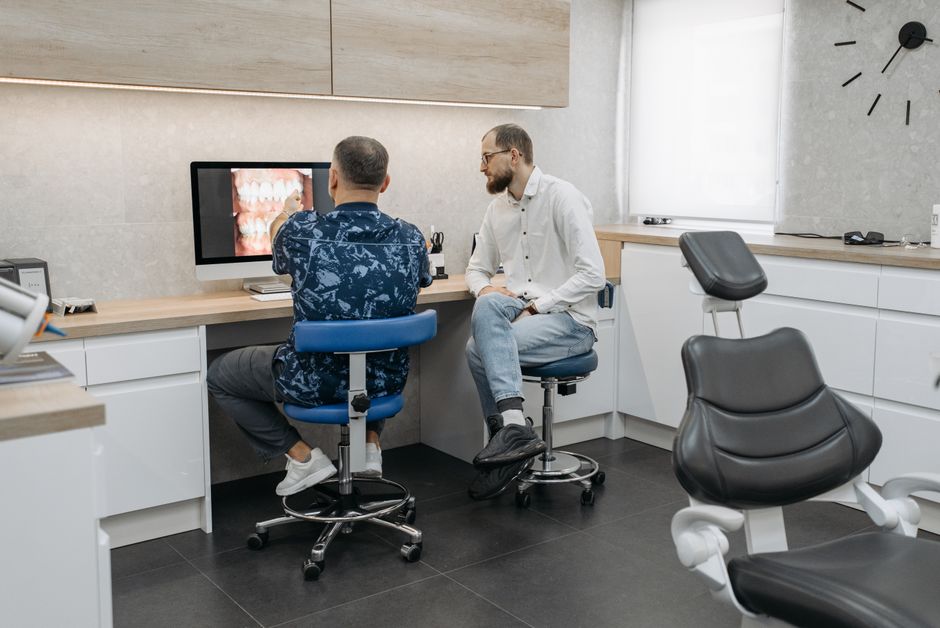
Photography does not replace clinical shade selection—but it dramatically improves communication. A practical protocol includes: full-face smiling photo, retracted frontal, retracted 45° views, and close-ups with shade tabs placed in the same plane as the tooth. Cross-polarized photography (when available) can reduce specular reflection and reveal intrinsic color patterns useful for characterization.
Form Management: Anatomy, Proportions, and “Smile Integration”
Even a perfectly matched color will fail if the form is off. Form includes macro-geometry (length, width, midline, incisal edge position), micro-geometry (line angles, embrasures), and surface texture (perikymata, gloss level). The clinician’s job is to design form that fits the patient’s face, occlusion, and periodontal architecture.
Macro design: start from the incisal edge and midline
Incisal edge position: This influences phonetics, smile arc, and youthful appearance. Verify with “F” and “V” sounds and evaluate at rest and in full smile.
Midline and cant: Small midline deviations may be acceptable, but a canted incisal plane is often perceived as more disturbing. Digital smile design tools can help visualize cants and incisal plane relationships before irreversible steps.
Proportions and dominance: central incisors lead the story
In many esthetic cases, the maxillary central incisors are the “reference.” Once their length, width, and incisal edge contour are established, laterals and canines can be harmonized. Instead of rigidly following a single proportion rule, calibrate to the patient’s arch form, tooth display, and facial characteristics.
Line angles and embrasures: subtle changes, big optical effects
Line angles: Moving line angles slightly inward can make a tooth look narrower; moving them outward can make it look wider. This is a powerful tool when closing diastemas or aligning visual symmetry without aggressive preparation.
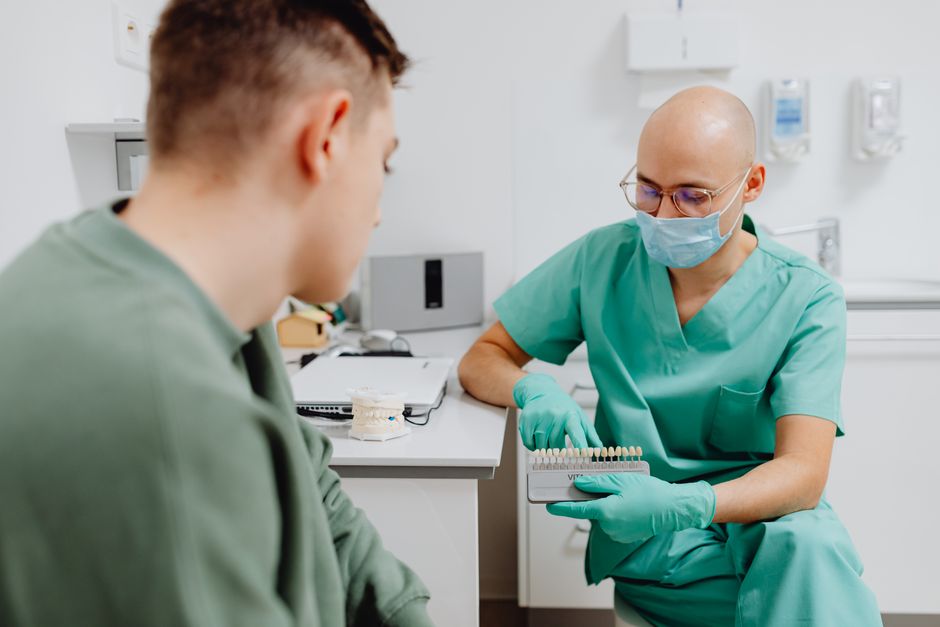
Embrasures: Progressive incisal embrasures from central to canine create a natural rhythm. Overly uniform embrasures can create an artificial “piano key” look.
Surface texture and gloss: the final layer of realism
Texture is not decoration—it controls how light is reflected. A very smooth, high-gloss surface may look new but unnatural next to adjacent teeth that have age-appropriate texture. Conversely, excessive texture can trap stains and compromise plaque control. Matching the gloss level of adjacent teeth after finishing and polishing is a simple but often overlooked step.
Material Choice and Workflow: Direct Composite vs Indirect Ceramics
Color and form management looks different depending on whether you are placing direct composite restorations, porcelain laminate veneers, or full-coverage restorations. The “best” option is case-dependent and should be planned conservatively where possible.
Direct composite: the advantage of real-time sculpting
Direct composite allows immediate control of emergence profile, line angles, and texture. It also supports minimally invasive corrections and can be a strong option for small-to-moderate defects, incisal edge repairs, or transitional restorations in interdisciplinary cases.
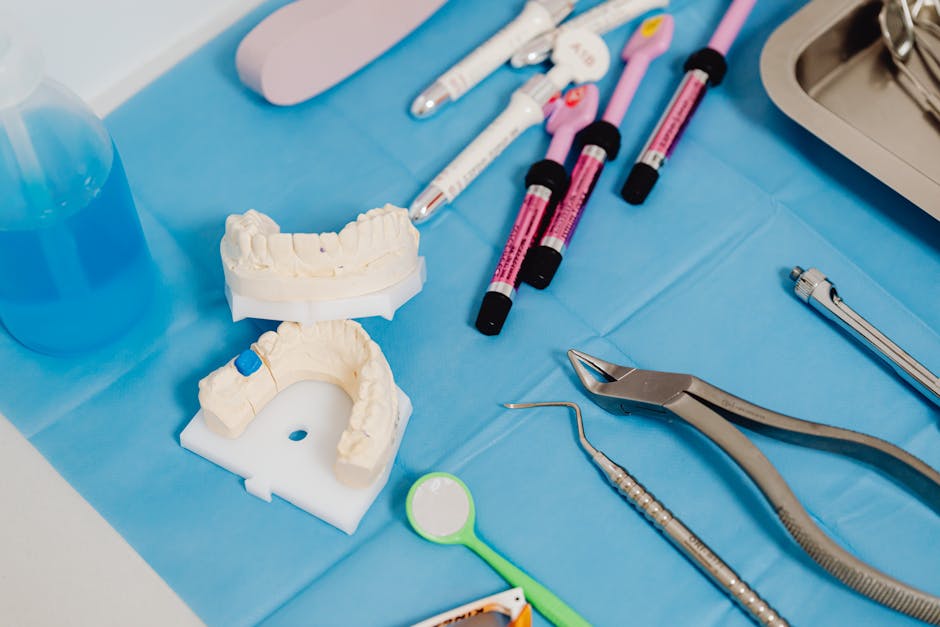
Predictability improves when clinicians use a silicone index from a wax-up (analog or digital) and a layered approach that respects opacity and translucency. Incremental placement, proper isolation, and controlled finishing are the foundation of durable esthetics.
Porcelain laminate veneers: high esthetics, high responsibility
Veneers can deliver excellent optical properties and long-term surface stability, but they are sensitive to planning errors: improper preparation depth, poor margin design, inadequate enamel bonding, or incorrect emergent contours that compromise gingival health. For a focused look at avoidable pitfalls, review common mistakes in porcelain laminate veneers—and how to avoid them, especially if you are refining your veneer workflow.
From a color perspective, veneer success depends on controlling the triad of tooth substrate, ceramic thickness, and resin cement shade. Try-in pastes and a documented shade map help reduce “surprises” at cementation.
When underlying enamel is compromised (including pediatric considerations)
In cases involving enamel developmental defects, both color and form planning may need to address generalized enamel irregularities, sensitivity, and patient age-related factors. For clinicians managing younger patients or planning staged care, Amelogenesis Imperfecta in children: signs, diagnosis, and dental management provides educational context on how diagnosis influences restorative choices and timing.
Digital Dentistry and Mock-Ups: Making Color and Form Testable
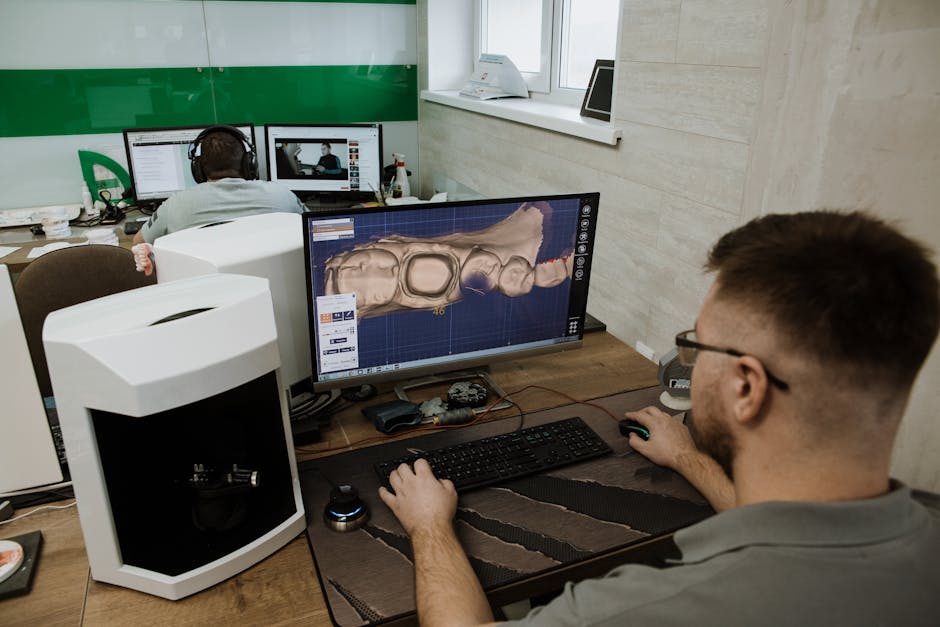
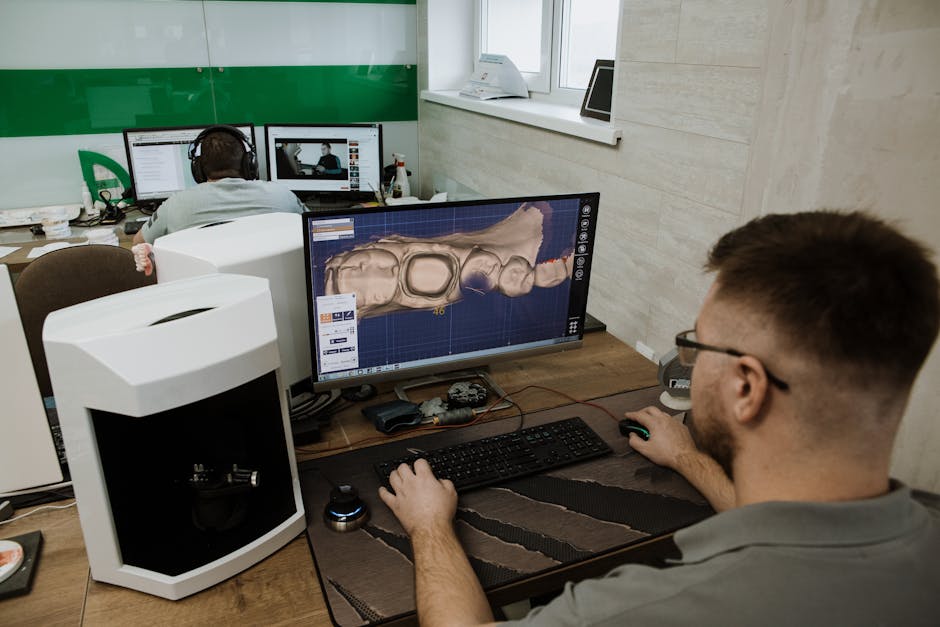
One of the most practical advances in anterior esthetics is the ability to test form before finalizing it. Digital smile design, intraoral scanning, and CAD/CAM workflows can turn an esthetic goal into a measurable plan—and a reversible try-in.
Mock-up workflow (analog or digital)
1) Records: photos, videos (optional), scans or impressions, and shade mapping.
2) Design: digital planning or diagnostic wax-up with agreed incisal edge and tooth proportions.
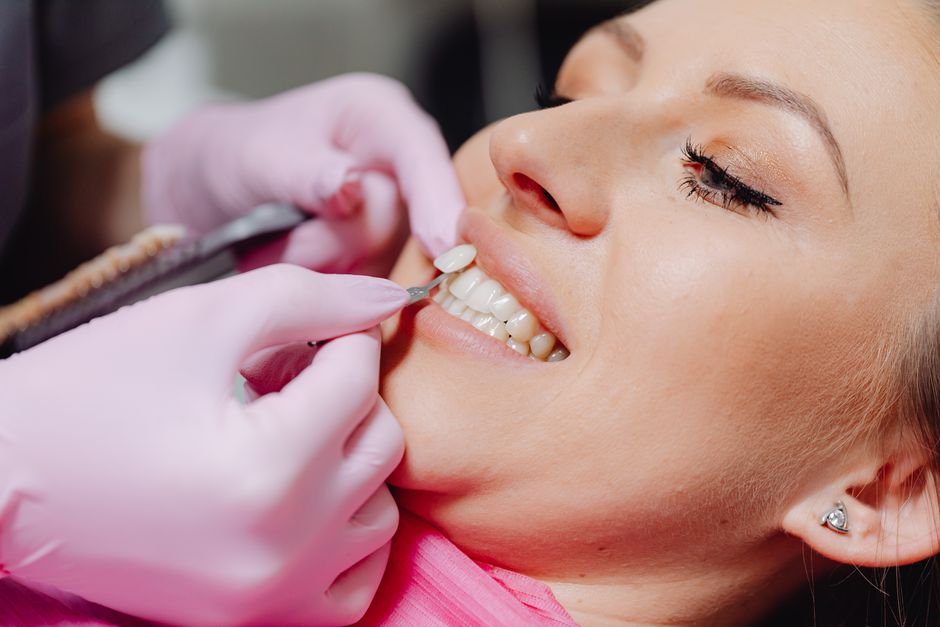
3) Mock-up: bis-acryl or flowable composite mock-up guided by a silicone index.
4) Evaluate: phonetics, occlusion, lip support, gingival display, and patient acceptance. Modify before preparation or definitive restoration.
This approach reduces remakes and helps clinicians align expectations—especially important when multiple disciplines are involved (periodontal contouring, orthodontics, or implant-supported anterior restorations).
Soft-Tissue Frame: The Periodontal “Border” of Esthetics
Anterior esthetics is not only tooth-driven. Gingival symmetry, zenith positions, papilla fill, and emergence profiles dictate whether the restoration looks integrated. Over-contoured restorations can cause inflammation; under-contoured restorations may create “black triangles” or food traps. If soft tissues show inflammation or bleeding, stabilizing periodontal health prior to definitive esthetic work improves both color perception and long-term outcomes.
Finishing, Polishing, and Quality Checks: Where Details Become Results
After placement or cementation, refine the restoration with a structured checklist:
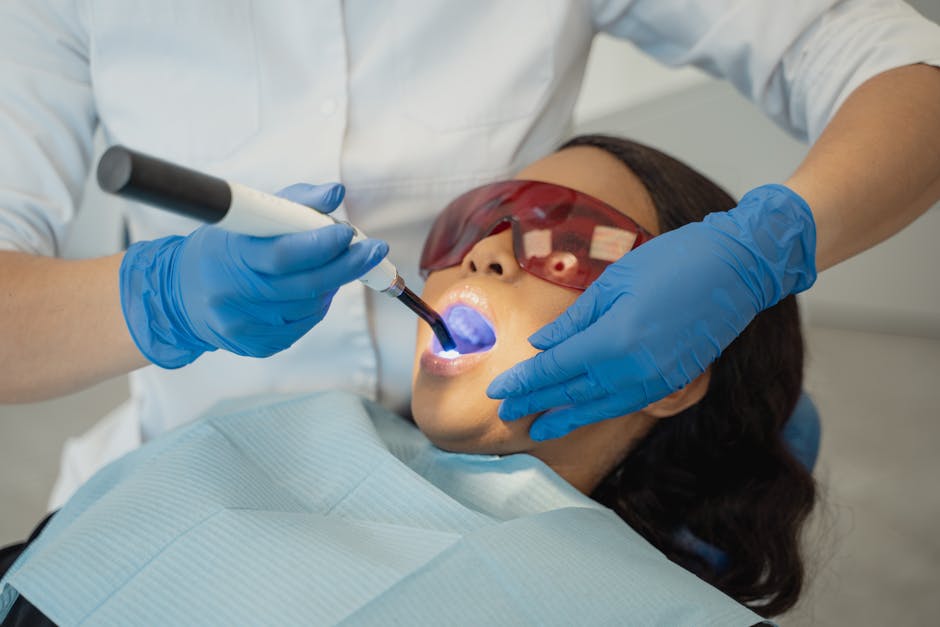
Occlusion: check in MIP and excursive movements. Anterior guidance issues can chip ceramics or cause premature wear on composites.
Contacts and embrasures: floss pass and papilla support.
Margins: inspect with magnification and confirm cleanable contours.
Texture and gloss: match adjacent teeth—often the difference between “nice” and “natural.”
Photographic documentation: capture post-op images for self-audit and lab feedback loops.
Learning These Skills Clinically: Training at Istanbul Dental Academy
Color and form management is best learned as a combination of theory, visual calibration, and repeated hands-on practice. At Istanbul Dental Academy, clinicians refine anterior workflows through practical exercises such as shade mapping with standardized photography, mock-up guided preparation, composite layering strategies, and veneer protocols designed to support predictable esthetic integration. The emphasis is on transferable clinical steps—what to measure, what to photograph, how to communicate with the lab, and how to troubleshoot when shade or morphology is not yet “right.”
This content is for educational purposes and does not replace individualized diagnosis or treatment planning. For patient-specific decisions, clinicians should evaluate clinical findings, occlusion, periodontal status, and material indications within their professional scope and local regulations.
Diğer Yazılar