BLOG
Achieving Passive Fit in Implant-Supported Prostheses: Clinical & Lab Strategies
Blog Tarihi: 14/06/2026
Why Passive Fit Matters in Implant Prosthodontics
Passive fit describes a condition in which an implant-supported framework (or multi-unit prosthesis) seats onto implants or abutments without inducing strain. Unlike tooth-borne prostheses, implant restorations have limited physiological mobility—so small inaccuracies can translate into mechanical complications (e.g., screw loosening, component wear) and, in some situations, biological concerns (e.g., plaque-retentive gaps). In daily practice, “passive fit” is not a single binary outcome; it is a clinical goal managed through accuracy at each step—diagnosis, records, impression/scan, verification, design, and delivery.
This educational article discusses how clinicians and dental technicians can work together to improve passive adaptation in implant-supported prostheses. It is written for dentists, dental students, and professionals pursuing continuing education. It does not provide definitive medical advice; clinical decisions should be individualized and evidence-informed.
What Creates Misfit? Understanding the Error Chain
Passive fit is often lost through cumulative errors rather than one dramatic mistake. Common contributors include:
Biologic and surgical variables: implant divergence, limited restorative space, soft-tissue thickness, and emergence profile limitations can push designs toward non-ideal geometry.
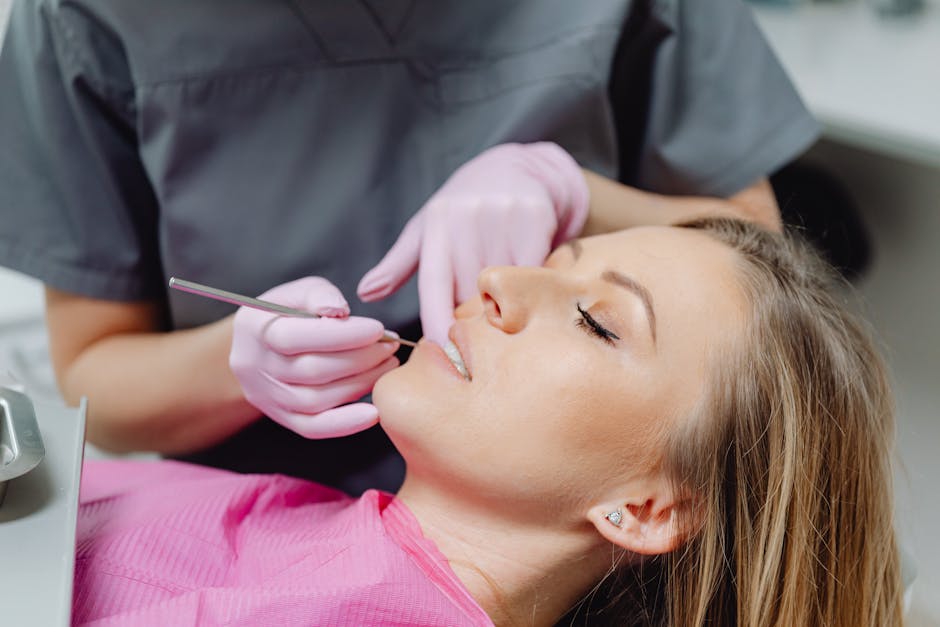
Record inaccuracies: inaccurate impressions, scan bodies seated incorrectly, poorly controlled moisture, tissue movement, or inadequate capture of implant position and angulation.
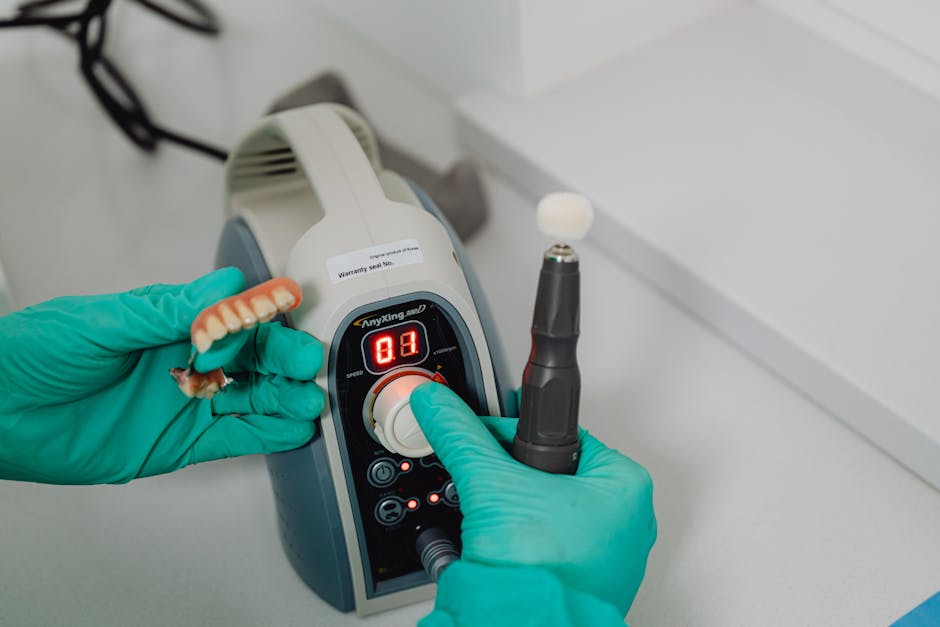
Laboratory variables: cast distortion, analog movement, resin shrinkage in verification jigs, 3D printing tolerances, milling offsets, and soldering/laser-welding distortions.
Prosthetic design factors: long-span frameworks, cantilevers, thin cross-sections, and screw channel positioning can decrease tolerance to minor discrepancies.
In many modern clinics, a significant portion of this error chain can be reduced through a digital workflow. For a detailed exploration of where digital steps add predictability—from scan strategies to CAD/CAM manufacturing—see How Digital Workflow Enhances Implant-Supported Prosthetics.
Clinical Planning: Passive Fit Starts Before the Impression
Prosthetically driven implant planning
Achieving passive fit is easier when implants are placed with the final prosthesis in mind. Parallelism, restorative space, and access for screwdrivers affect not only esthetics but also how stress is distributed across a framework. When clinicians aim for immediate or accelerated protocols, the planning burden increases; understanding the practical limits of same-day workflows can help prevent rushed steps that compromise accuracy. A helpful overview is Is One-Day Dental Implant Treatment Really Possible?.

Occlusion, parafunction, and patient-specific risk
Occlusal scheme, parafunctional activity, and muscle/joint health can influence mechanical load on implant prostheses. While passive fit is primarily about seating accuracy, clinicians should also consider how the patient’s function may magnify minor discrepancies. For clinicians who want an evidence-informed refresher on screening and clinical reasoning around jaw function, review Clinical Diagnostic Approach to TMD Patients: An Evidence-Informed Guide for Dentists.
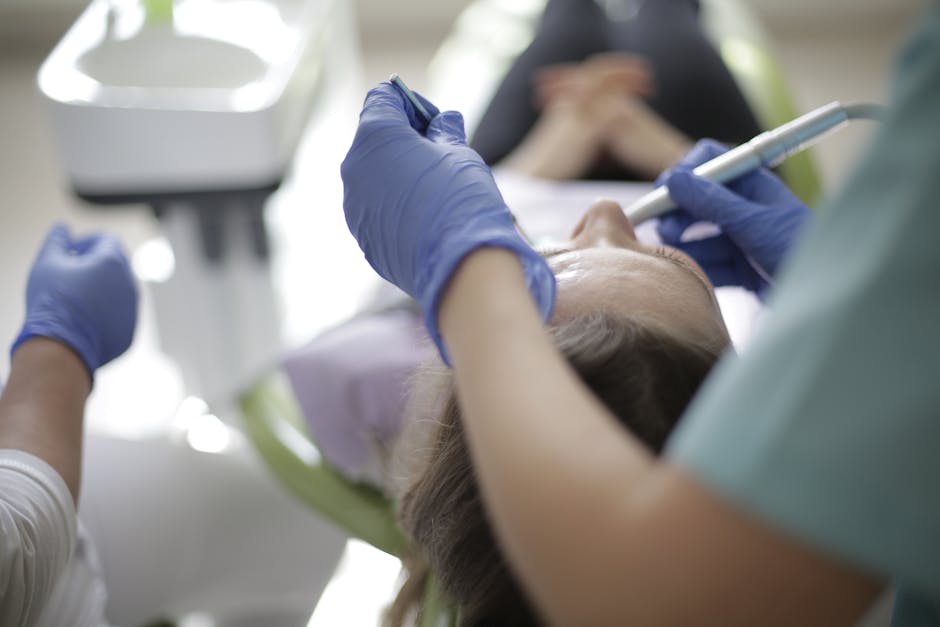
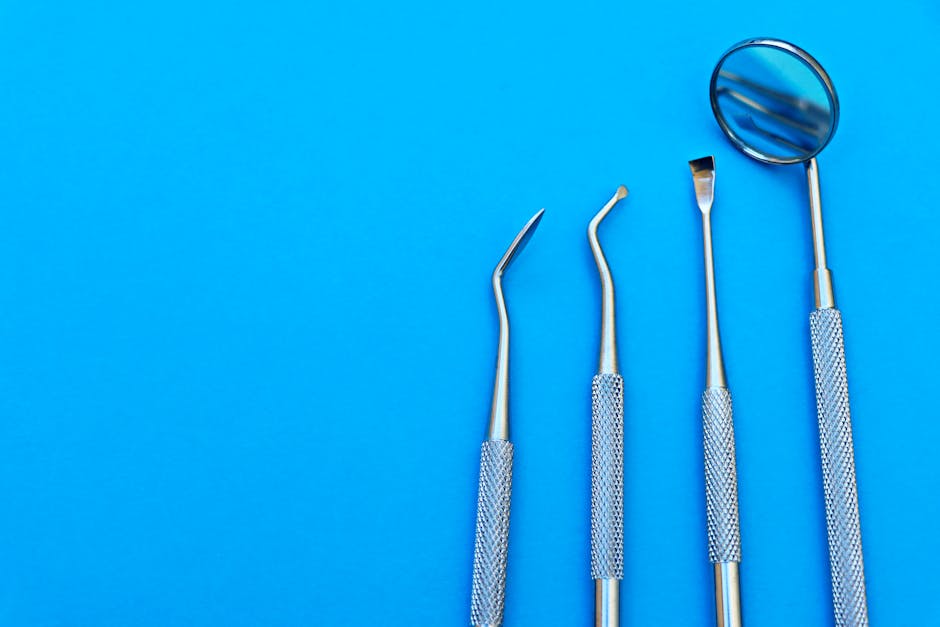
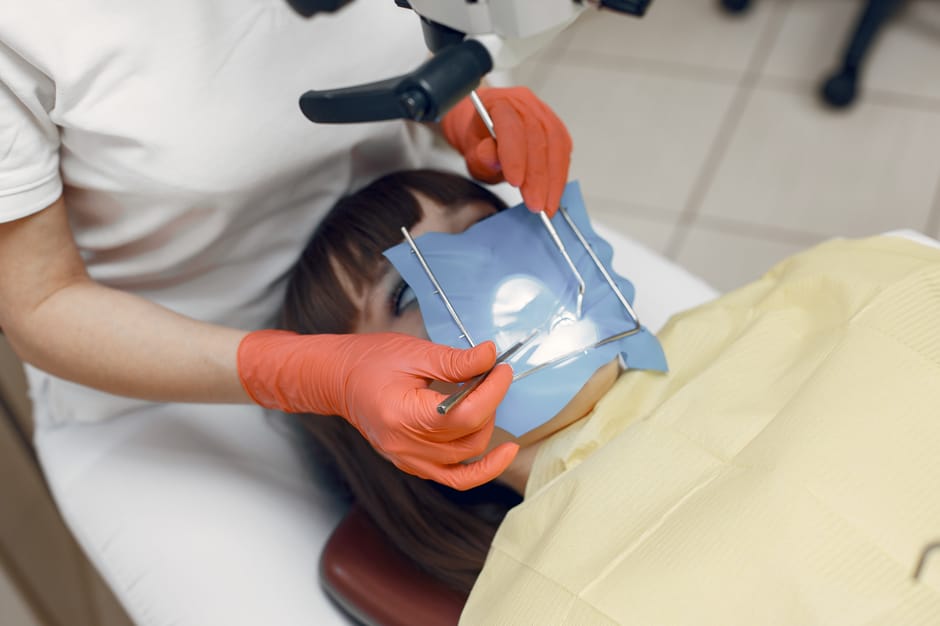
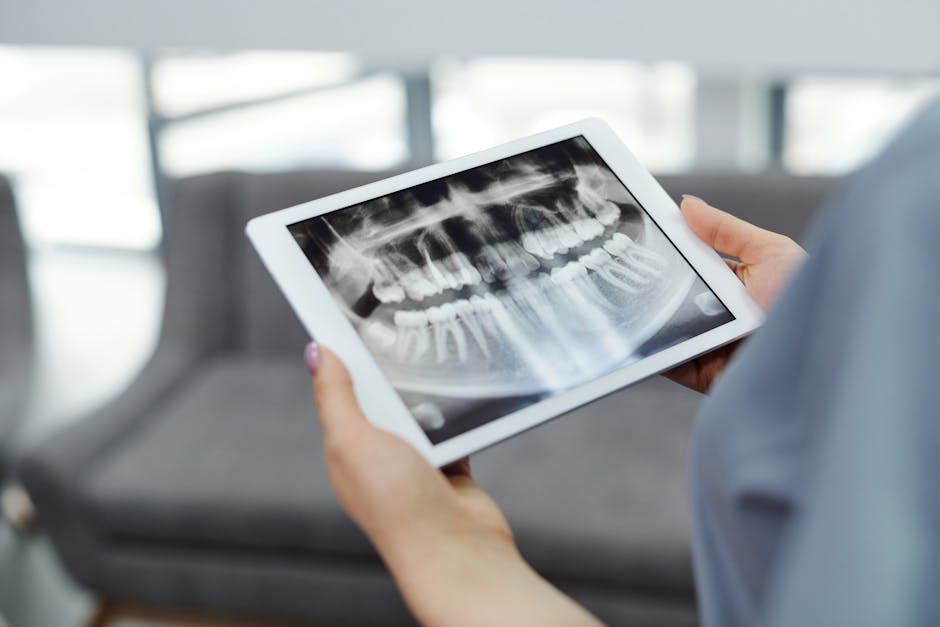
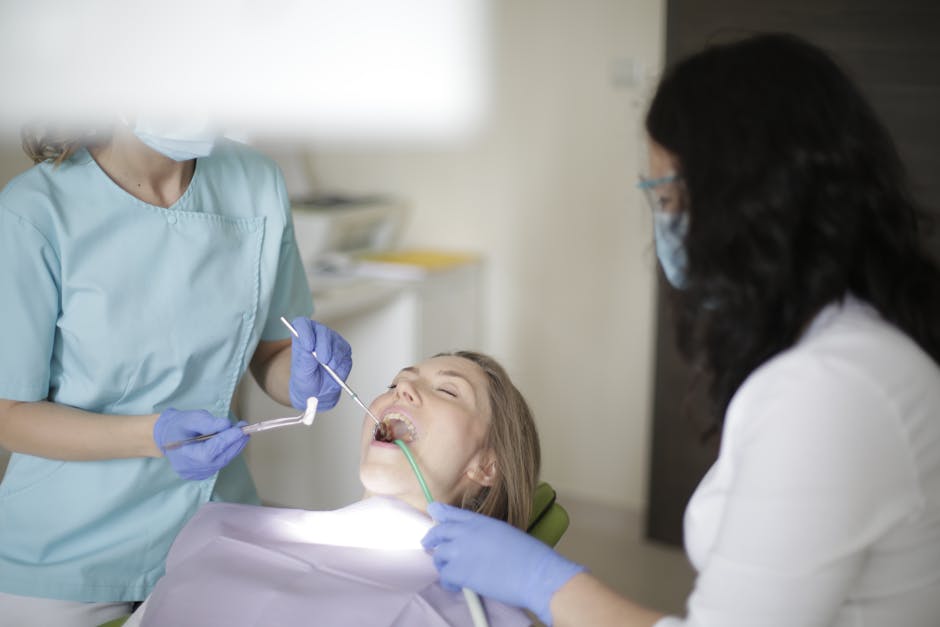
Impression and Scan Accuracy: Getting Implant Position Right
Analog impressions: technique details that matter
Conventional open-tray impressions can still deliver excellent results, particularly in full-arch and multi-unit cases, provided technique is meticulous. Clinical keys include rigid tray selection, stable coping fixation, controlled soft tissue management, and a material with adequate dimensional stability. Splinting impression copings can reduce micro-movement, but clinicians should also manage resin shrinkage and ensure the splint is sectioned and reconnected when indicated to minimize distortion.
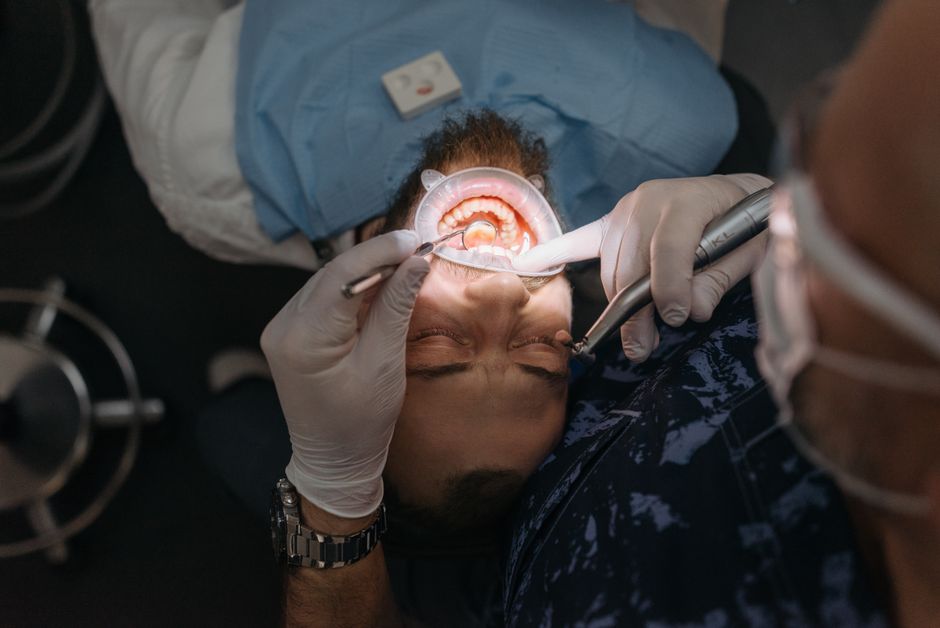
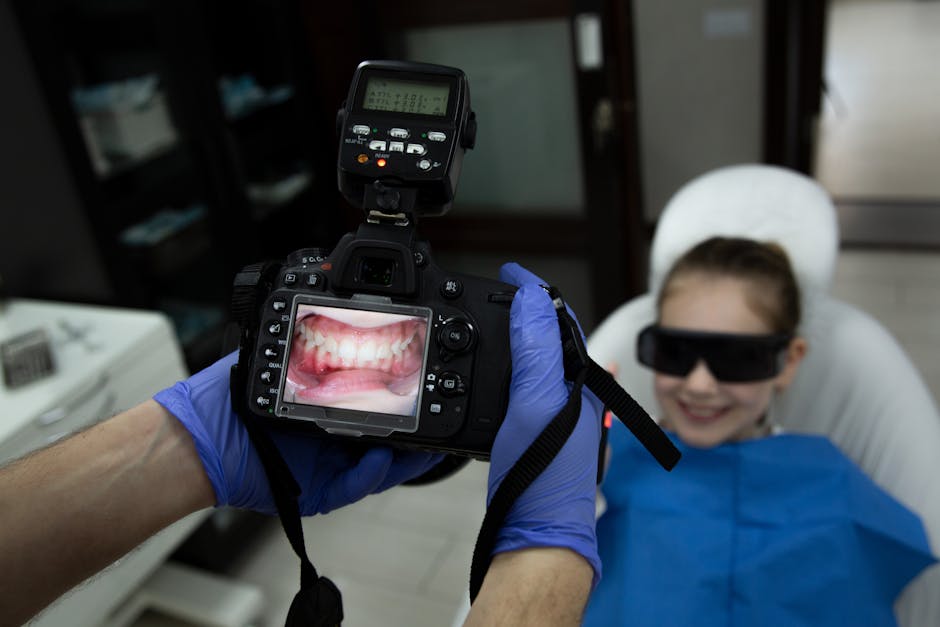
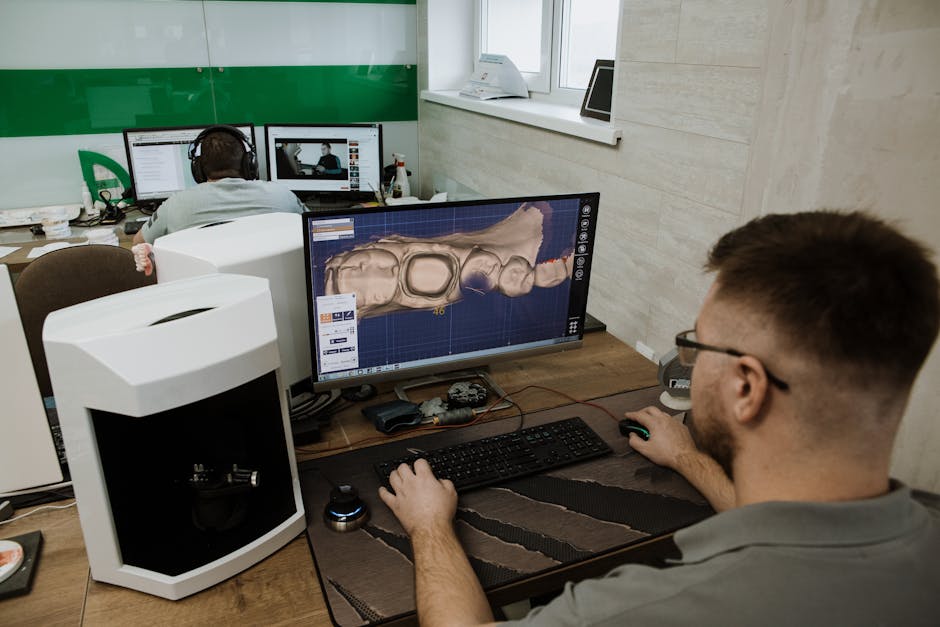
Digital impressions: scan body seating and scan strategy
Intraoral scanning introduces its own failure modes: incomplete scan body seating, scanning through saliva, losing tracking in edentulous spans, or merging errors across long arches. Best practices generally involve confirming scan body engagement (visual/tactile and radiographic confirmation when appropriate), using a consistent scan path, and capturing enough anatomic reference for stable stitching. Communication with the lab about scan body library selection and software versioning is a small step that can prevent major downstream mismatch.
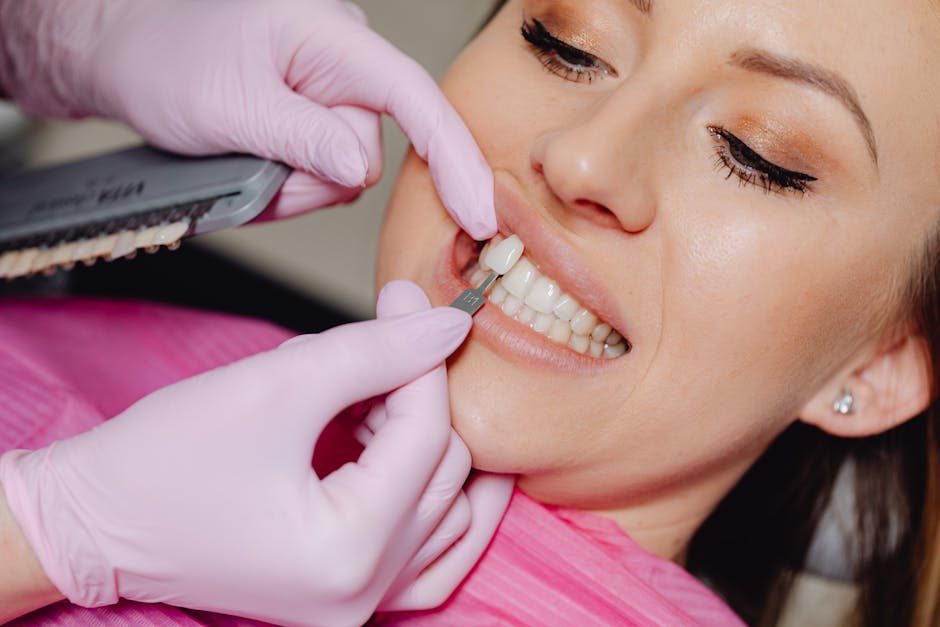
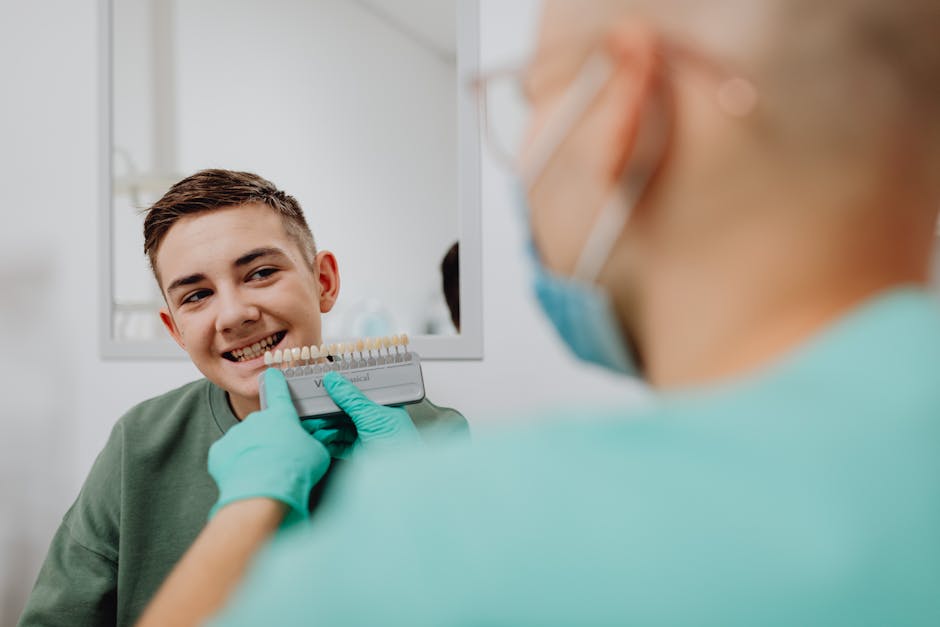
Many clinicians first build digital confidence through esthetic cases, then transfer those skills to implants. For example, the same digital principles used for planning laminate veneers—reference capture, occlusal analysis, and digital mock-ups—translate into improved predictability for implant prosthetics. See Digital Dentistry for Laminate Veneer Planning: A Modern Smile Design Workflow for a practical, restorative-oriented perspective.
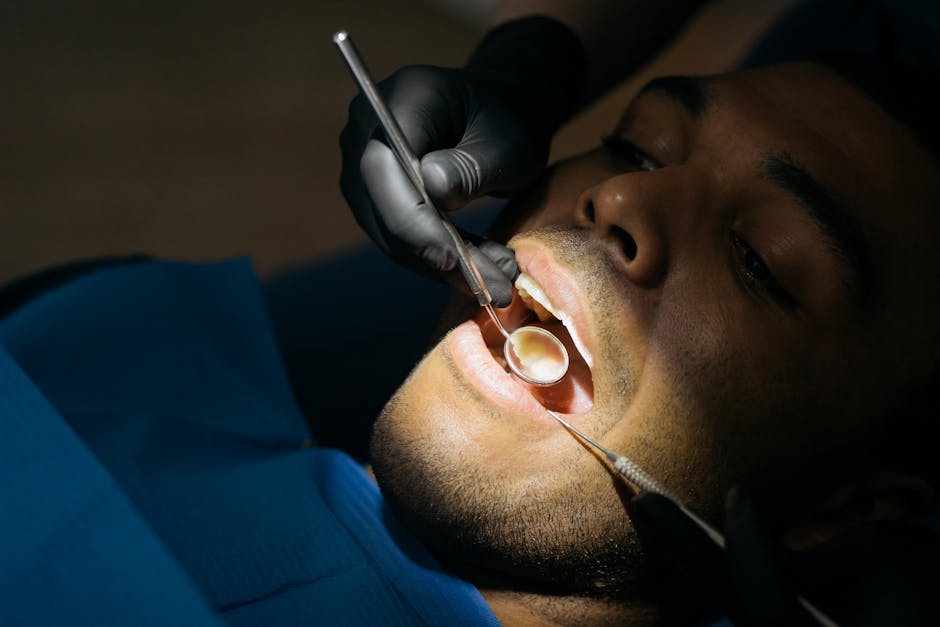
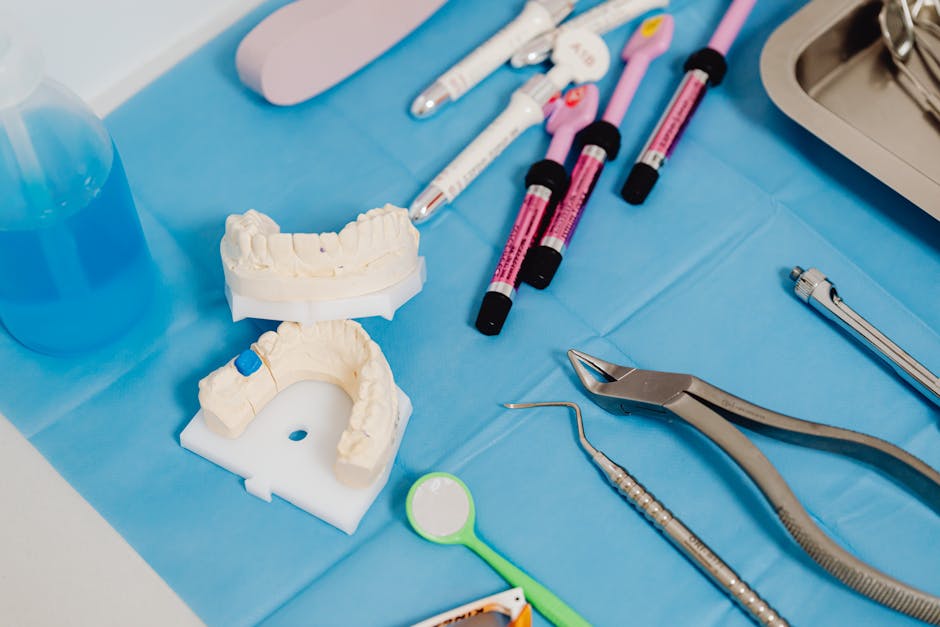
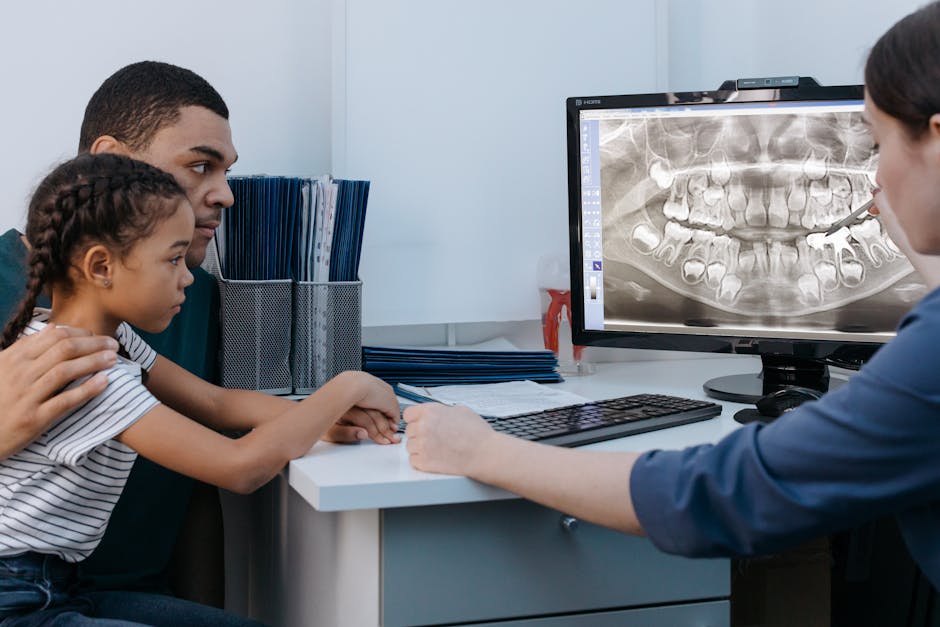
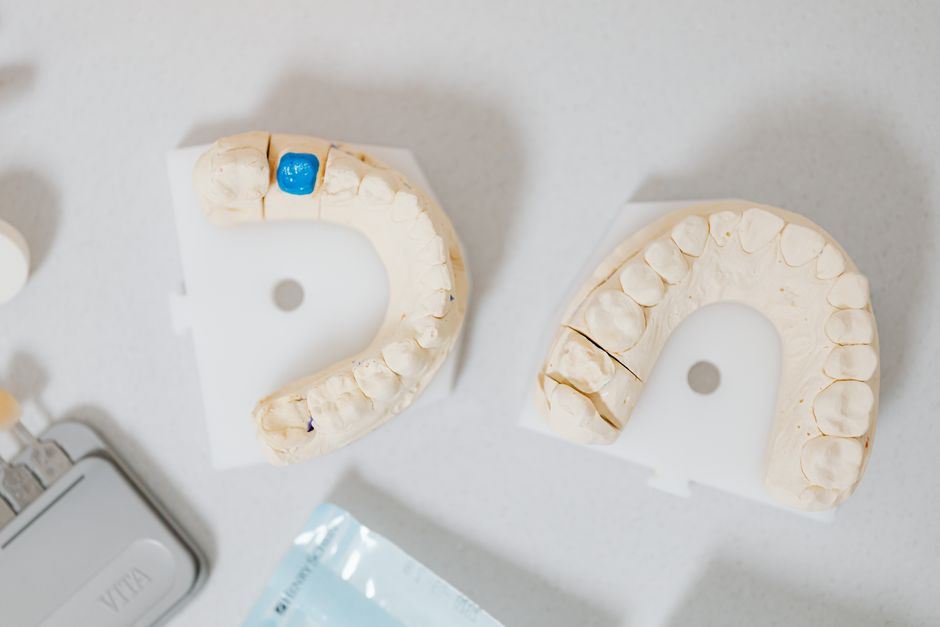
Verification: Confirming the Master Cast or Digital Model
Why verification jigs remain relevant
Even with excellent impressions or scans, a verification step helps confirm that the recorded implant positions translate accurately to the working model. Verification jigs (often fabricated with resin or CAD-printed materials) are commonly used in multi-implant and full-arch cases. The objective is simple: confirm that the jig seats passively intraorally before the definitive framework is produced.
Practical tips discussed in many prosthodontic workflows include using a rigid material, minimizing polymerization shrinkage, and sectioning/reconnecting the jig in the mouth when needed. If a jig does not seat without pressure, it’s a signal to reassess records rather than “forcing” the definitive restoration to fit.
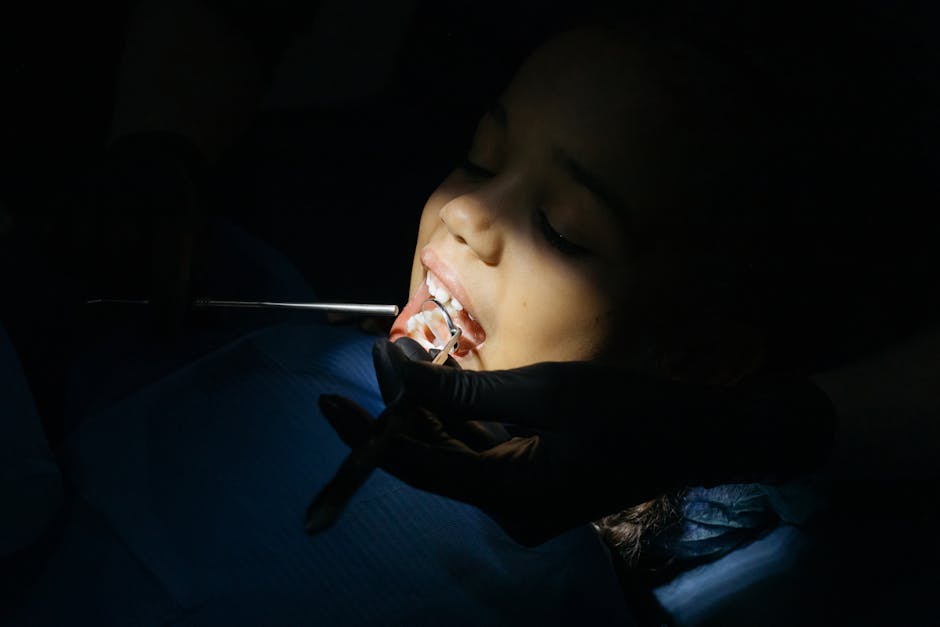
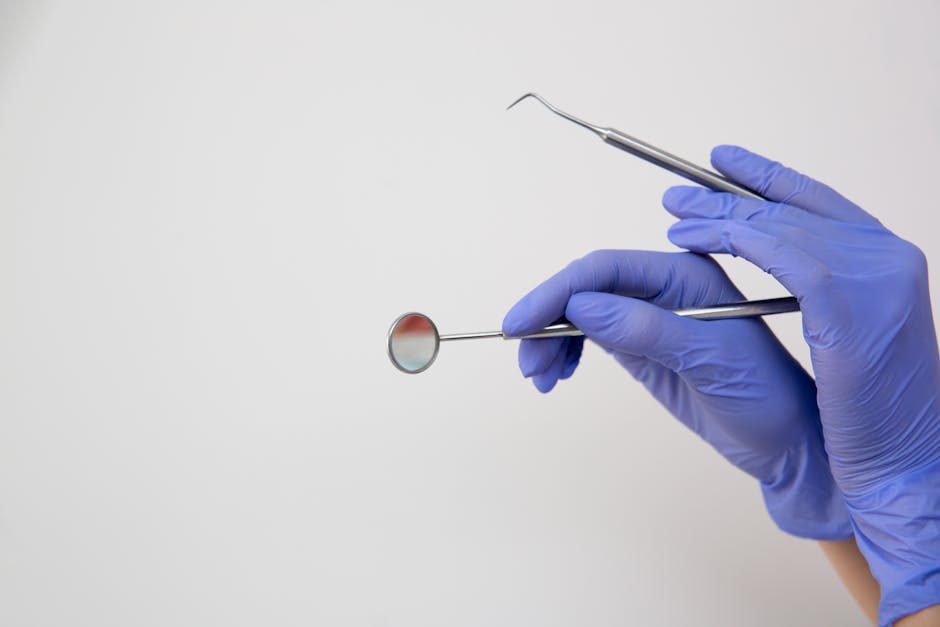
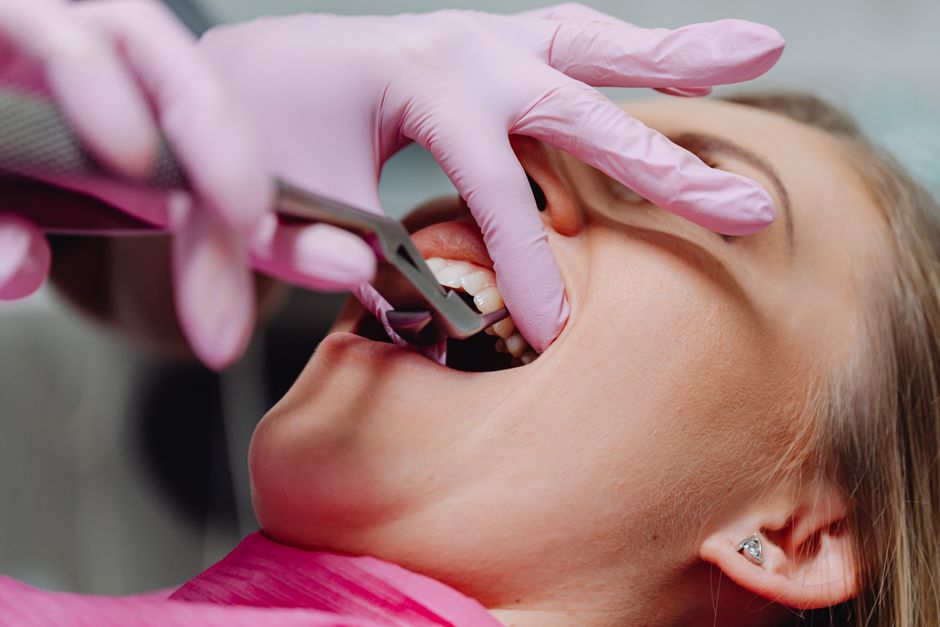
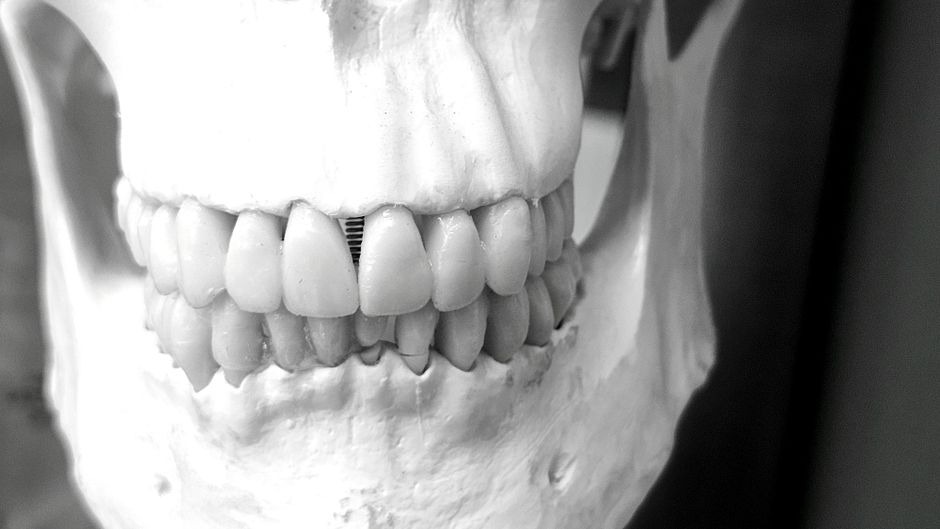
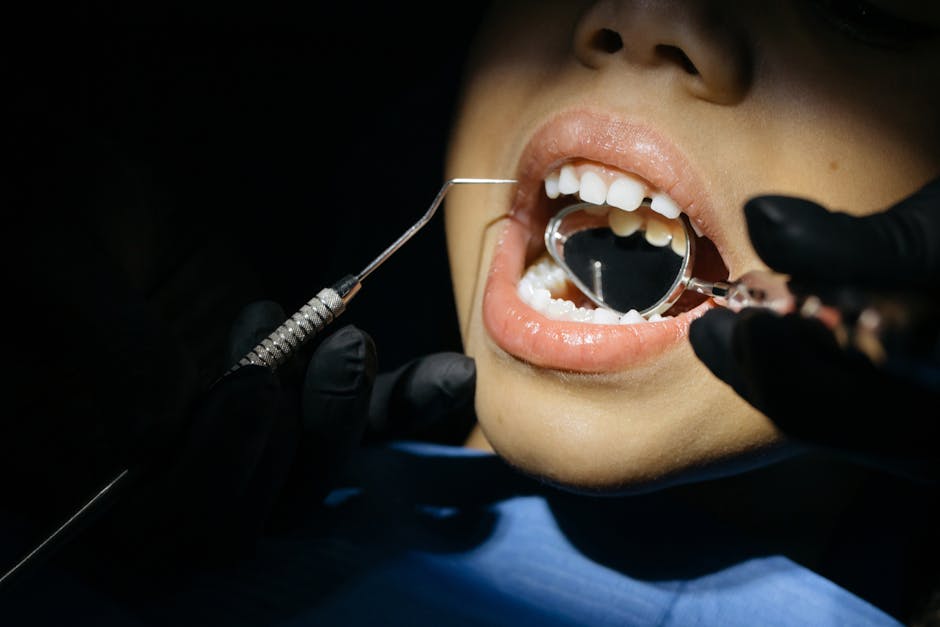
Clinical tests for passive seating
Passive fit assessment is multifactorial and often combines:
Single-screw test: tighten one terminal screw and evaluate lifting on the opposite end (visual inspection, tactile exploration with an explorer, and radiographic checks when indicated).
Direct vision and magnification: evaluate marginal gaps around abutment interfaces, especially on multi-unit components.

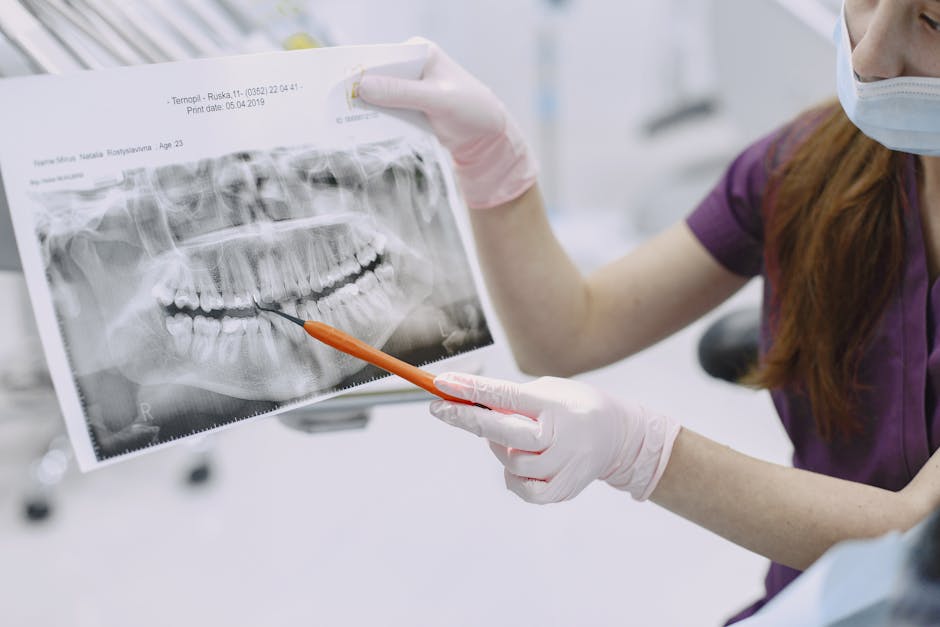
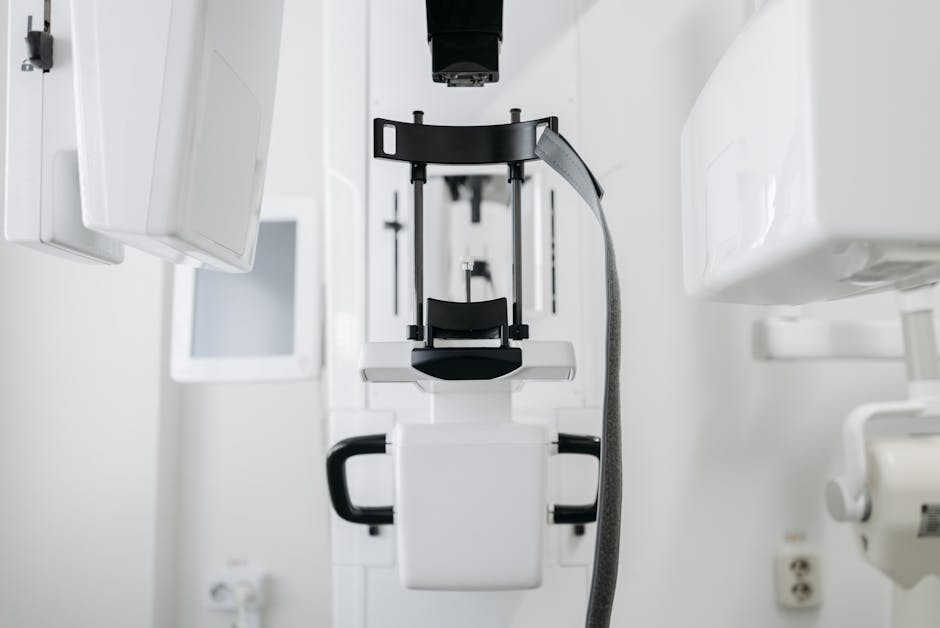
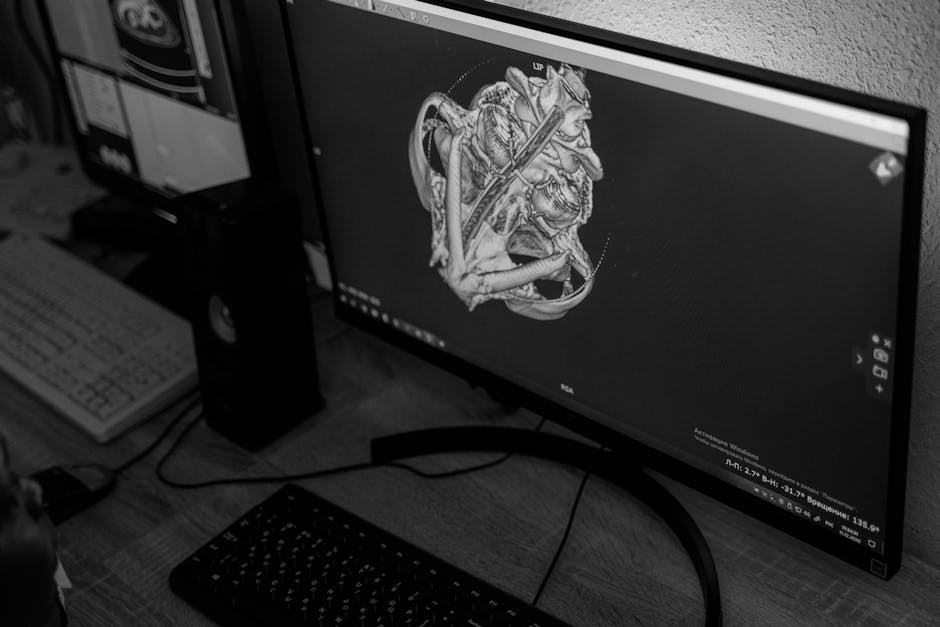
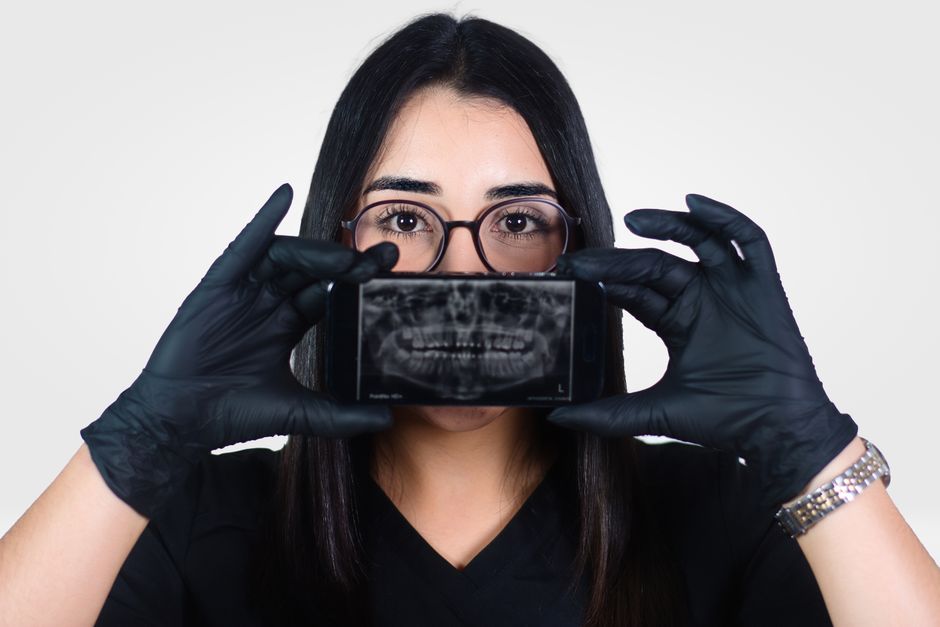
Radiographic verification: periapicals can help confirm complete seating at the implant–abutment interface; angulation and positioning are critical to avoid false positives/negatives.
No single method is perfect; clinicians typically combine tests to build confidence before proceeding.
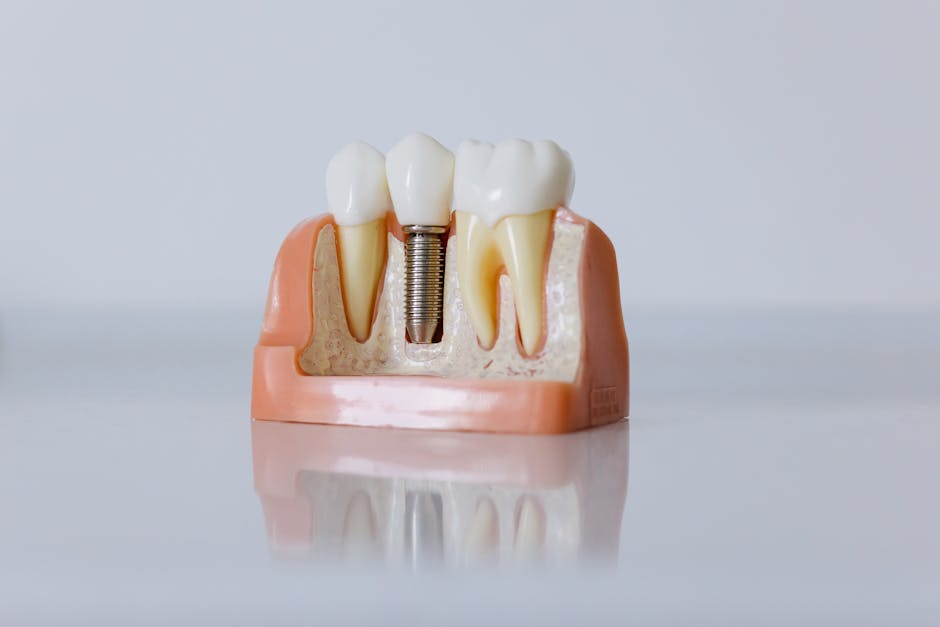
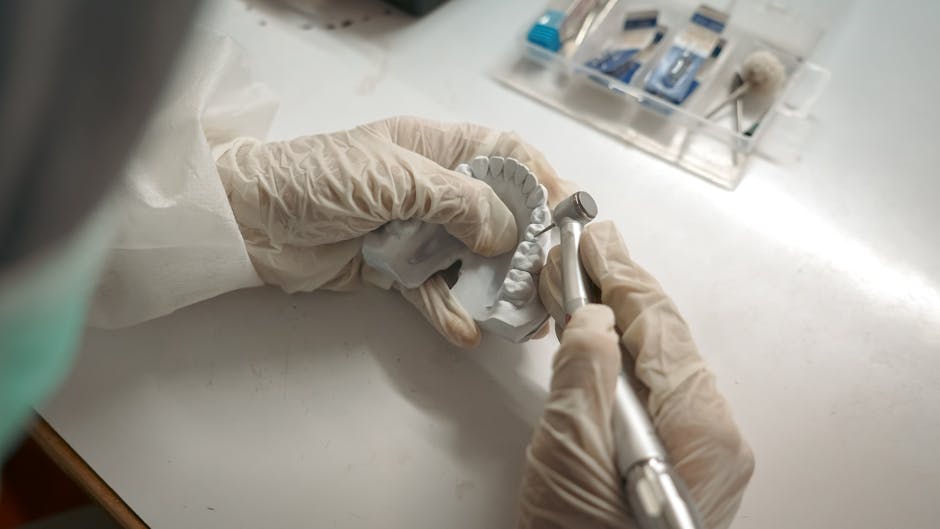
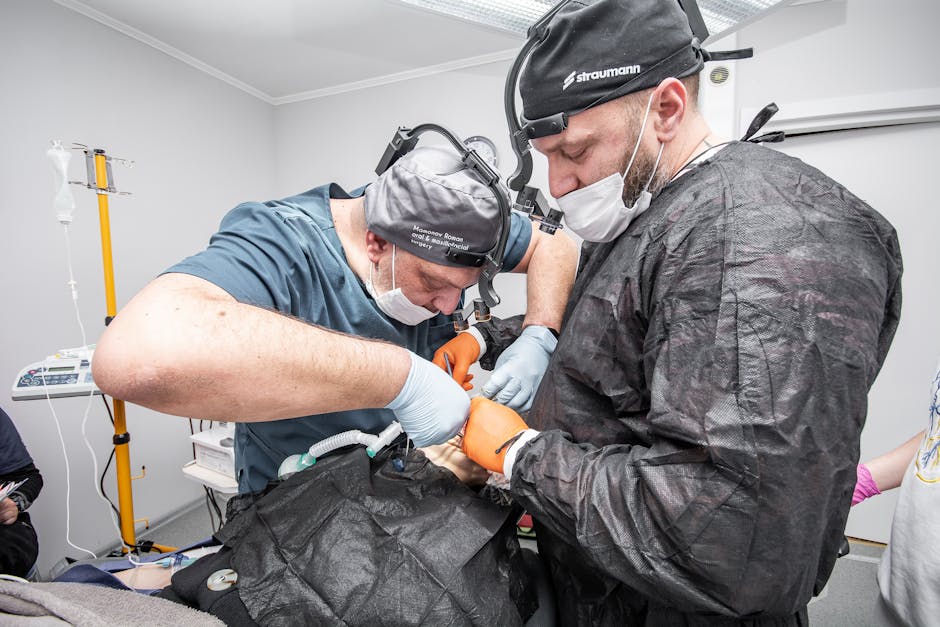
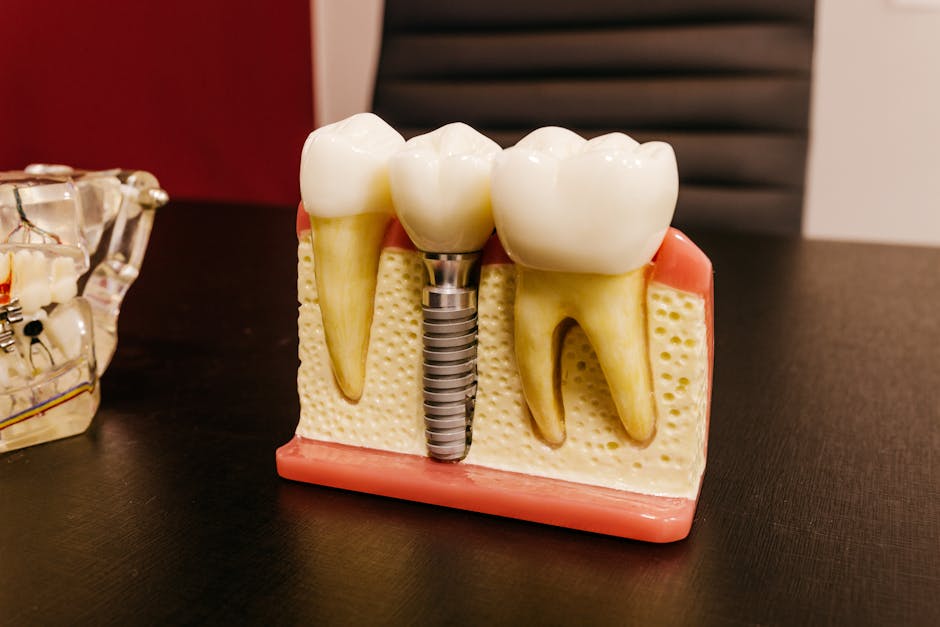
Framework Design and Manufacturing: Reducing Distortion
Material selection and cross-sectional design
Framework rigidity can influence how a prosthesis behaves under screw tightening. While rigid materials can resist flexure, they can also transmit strain to components if misfit is present. Conversely, overly thin designs may flex and mask misfit until functional loading reveals the problem. CAD/CAM planning should consider connector dimensions, cantilever length, and the prosthetic space available—especially in full-arch cases where restorative contours can become bulky or under-supported.
CAD/CAM milling vs. casting vs. additive manufacturing
Each manufacturing pathway has advantages and limitations:
Milled frameworks can offer high consistency when machine calibration, tool wear, and software offsets are controlled.
Cast frameworks are technique-sensitive and can distort during investing and cooling; they may require more post-processing steps.
3D printed metal frameworks can be efficient, but layer-based distortion and post-processing (heat treatment, finishing) must be tightly managed.
In practice, predictable passive fit comes from matching the method to the case and maintaining quality control at each stage—often through an experienced lab partnership and standardized checklists.
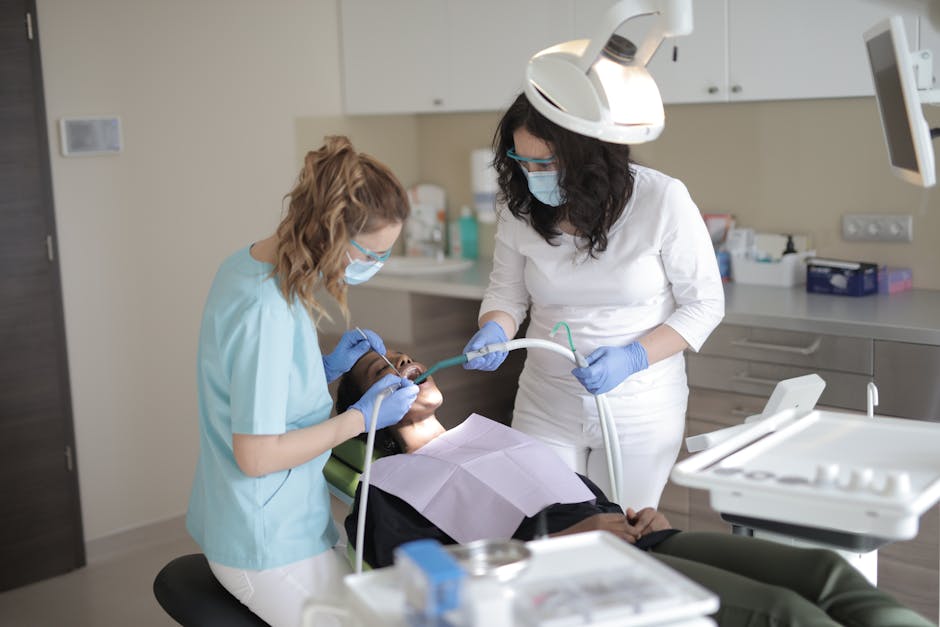
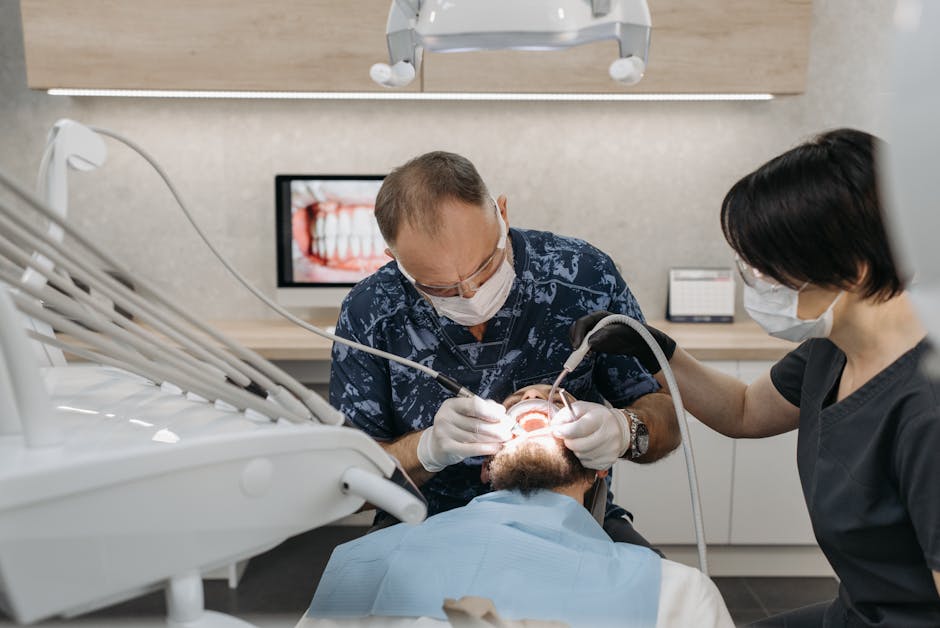
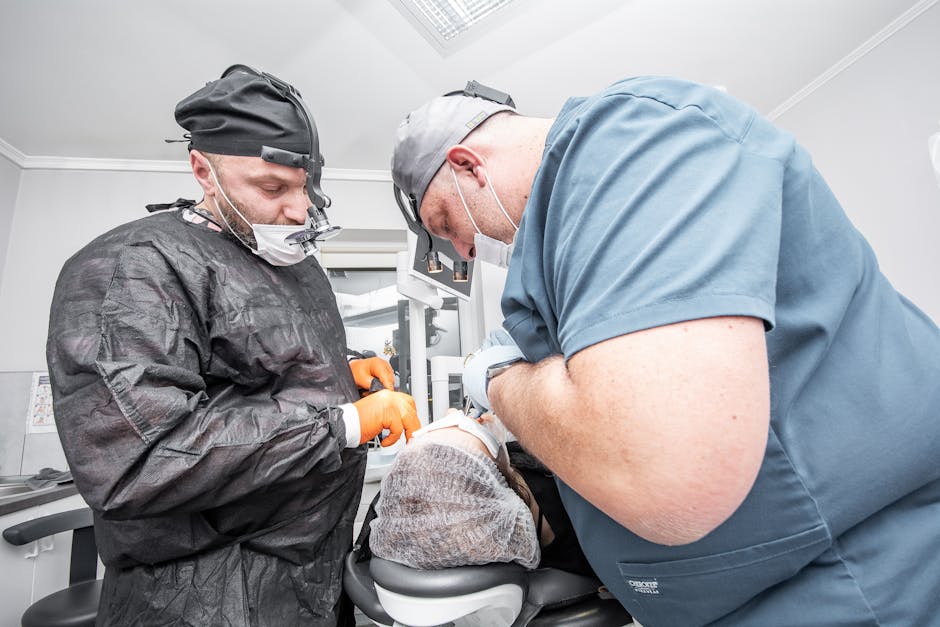
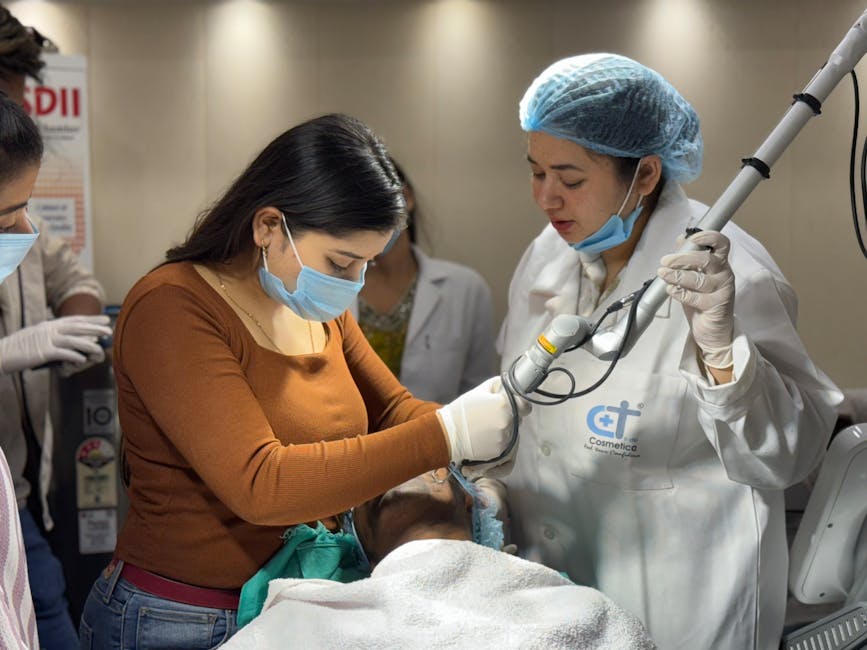
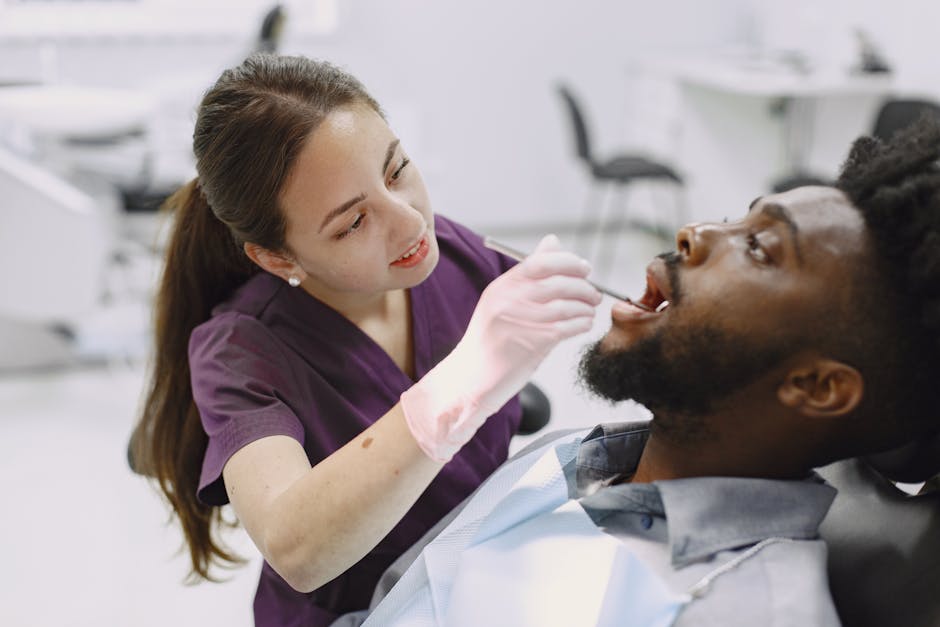
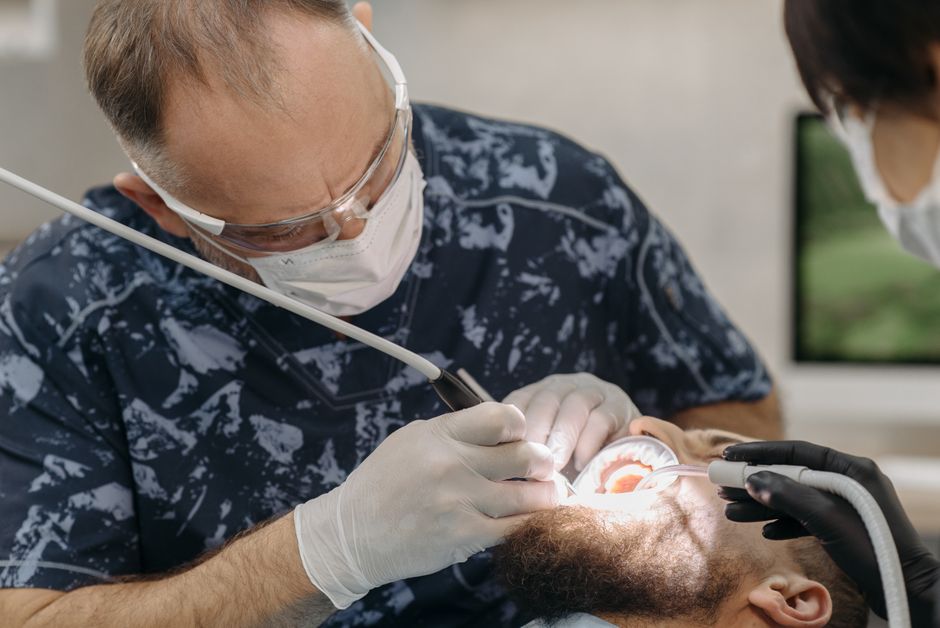
Clinical Delivery: Tightening Protocols, Occlusion, and Maintenance
Stepwise seating and torque control
Delivery appointments are not simply “insert and torque.” A methodical sequence can help detect issues early: try-in, visual/radiographic confirmation of seating, incremental tightening (cross-pattern for full-arch), and respecting manufacturer torque recommendations. Retorquing after a short settling period is commonly discussed in clinical protocols, although the exact approach should follow component guidelines and clinical judgment.
Occlusal refinement and protective strategies
Even with excellent passive fit, occlusion can create overload. Clinicians often refine contacts to reduce interferences, especially on cantilevers, and consider protective measures for patients with parafunction. Documentation (photos, occlusal records, and clear lab prescriptions) supports long-term maintenance planning.
Common Passive Fit Pitfalls (and How to Troubleshoot)
Pitfall 1: Mis-seated scan bodies or copings. Recheck seating clinically; consider radiographic confirmation. Repeat the record rather than adjusting the definitive framework prematurely.
Pitfall 2: Long-span stitching errors in scans. Add reference geometry, use scan strategies suited to edentulous arches, and consider segmental scanning protocols when appropriate.
Pitfall 3: Verification jig “almost fits.” “Almost” often becomes “problem” after delivery. Section and re-lute, or repeat the impression/scan depending on findings.
Pitfall 4: Over-reliance on chairside adjustments. Grinding a framework to fit can compromise interfaces and strength; focus on correcting the source of error.
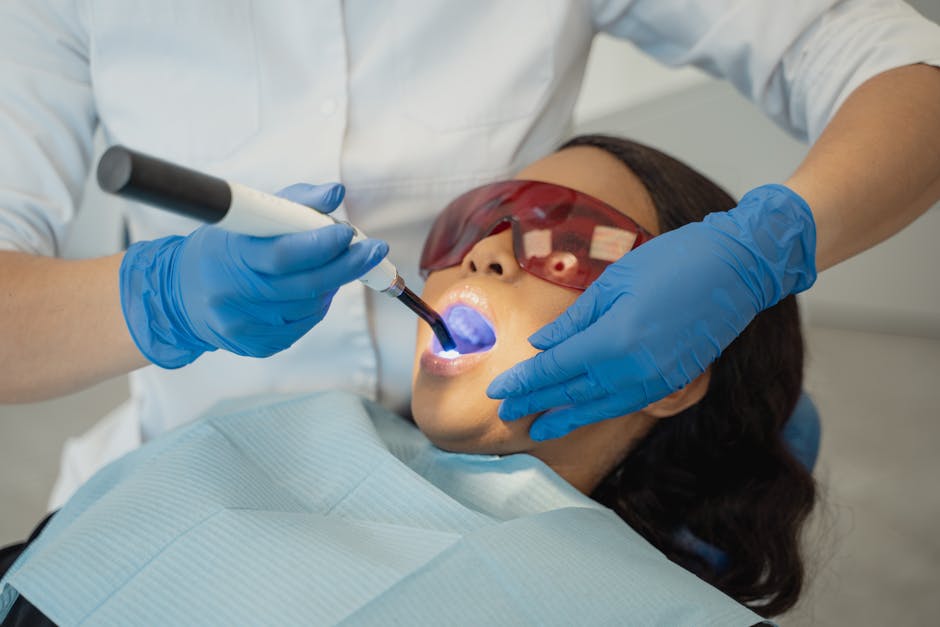
Pitfall 5: Incomplete understanding of adhesive and restorative interfaces. While implant frameworks are often screw-retained, many cases involve hybrid restorative steps (e.g., composite repairs, cementation of secondary components, bonding of veneering materials). If you want a practical refresher on technique sensitivity and isolation principles, see Contemporary Adhesive Techniques for Posterior Restorations: A Clinical-Ready Guide.
From Theory to Hands-On: Building Passive Fit Skills in Continuing Education
Passive fit is a skill set that benefits from supervised repetition: handling scan bodies and impression copings, fabricating and assessing verification jigs, reading radiographs for seating, and communicating design intent to the lab. At Istanbul Dental Academy, our continuing dental education approach emphasizes clinical decision-making paired with hands-on training—so participants can practice workflows, troubleshoot real-world complications, and translate protocols into their daily implant prosthodontic routines.
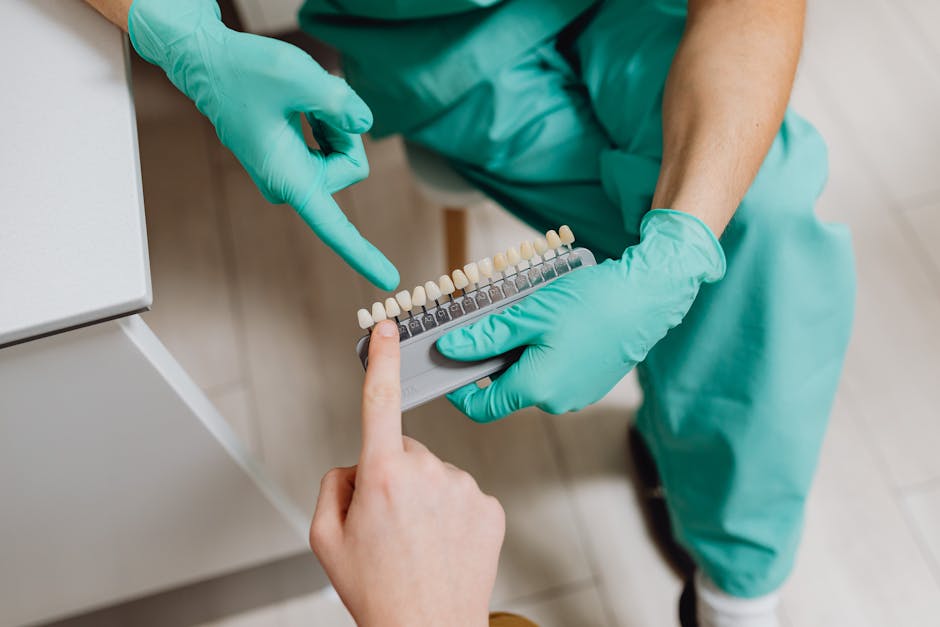
For clinicians expanding into comprehensive dentistry, passive fit concepts also connect naturally with digital smile planning, restorative sequencing, and documentation. Skills like dental photography, digital mock-ups, and structured records can strengthen communication with patients and labs—especially when coordinating implant-supported prosthetics within broader smile design cases.
Key Takeaways
Passive fit is best understood as the outcome of a controlled process rather than a single “fit check.” Reduce errors early (planning and records), verify before manufacturing, and deliver restorations with disciplined seating and occlusal protocols. When clinicians and technicians share a structured workflow—supported by modern digital tools and hands-on training—implant-supported prostheses can become more predictable, maintainable, and patient-centered.
This content is for educational purposes and does not substitute for professional diagnosis or individualized treatment planning.
Diğer Yazılar